When inventory in one location is low or zero, you can set up triggers to notify warehouse workers to move the same inventory from one location to the location with the low quantity.
How to Automate a Daily Replenishment Plan
Note: The Replenishment Plan requires some scripting knowledge. The script is not a “plug-and-play” solution. You will need to edit the Zone IDs on the script to match the location’s Zone IDs.
Use Case: The Replenishment Plan example below uses custom fields, scripts, a script plan, and a report.
How to Create a Replenishment Plan in Infoplus:
Step 1: Create Two Custom Fields
To learn how to create a custom field, read this article on custom fields.
-
Using your quick actions menu (.), navigate to the “Custom Fields” table

-
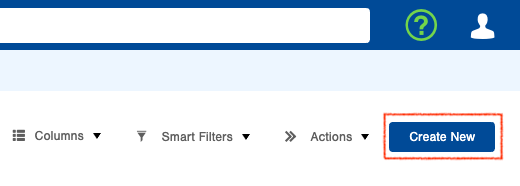
Select Create New in the top right
3. Use the tables below to help you fill in the necessary information. You will need to make two custom fields.
-
-
The “Name” needs to match exactly as the script is calling the names of these fields.
-
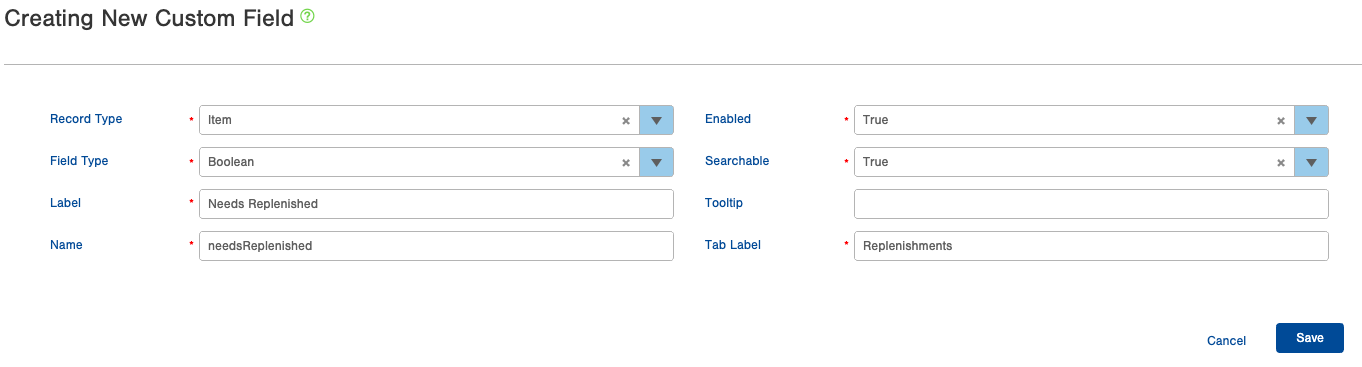
Custom Field 1:
|
Record Type |
Item |
|
Field Type |
Boolean |
|
Label |
Needs Replenished |
|
Name |
needsReplenished |
|
Tab Label |
Replenishments |
Example:
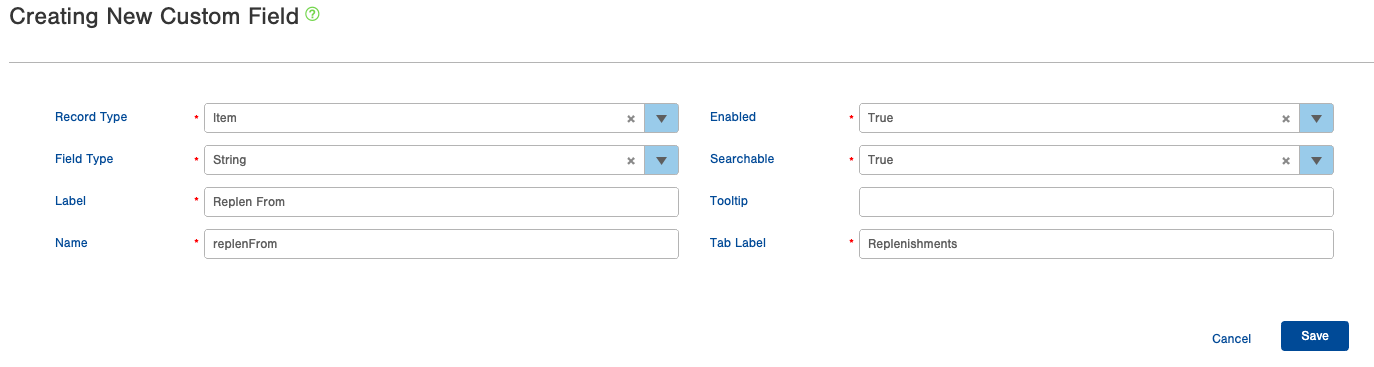
Custom Field 2:
|
Record Type |
Item |
|
Field Type |
String |
|
Label |
Replen From |
|
Name |
replenFrom |
|
Tab Label |
Replenishments |
Example:
Step 2: Add the Script
-
Using your quick actions menu (.), navigate to the “Script” table
-
Select Create New in the top Right
-
Use the fields listed below
-
Copy and paste the script noted below
-
Edit the script to customize for your needs
-
The Zone IDs will need to match your site’s Zone IDs
-
|
Name |
Replenishment Script |
|
Script Type |
Record |
|
Record Type |
Item |
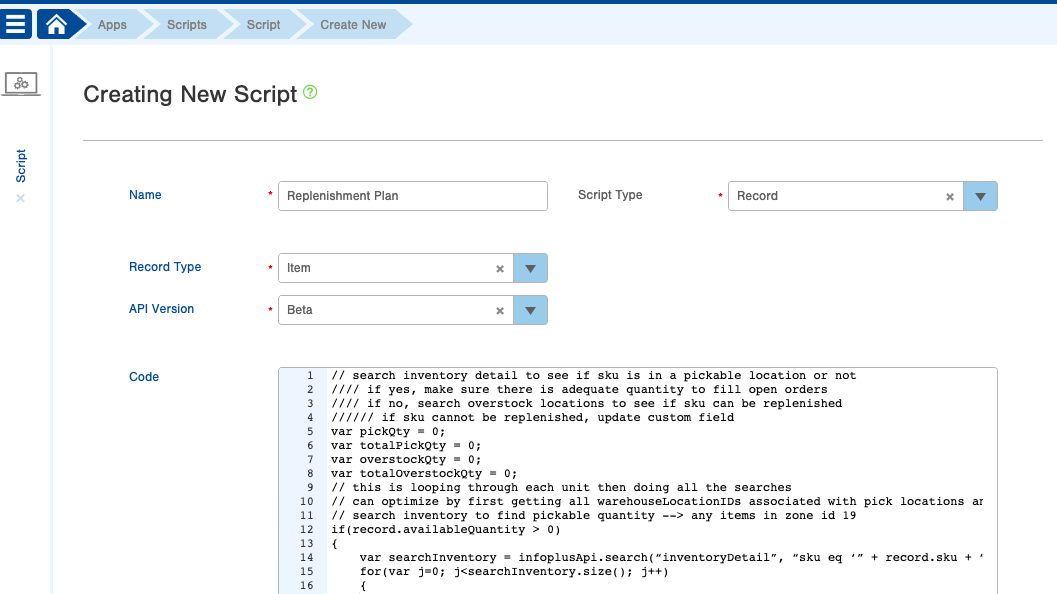
Example Replenishment Plan Script:
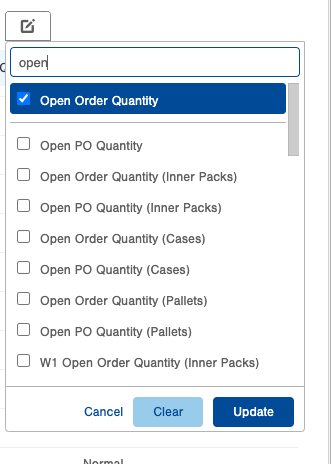
Step 3: Create a Smart Filter
-
Using your quick actions menu (.), navigate to the “Item” table
-
For more information on how to create and manage smart filters, navigate to this Knowledge Base Article on Smart Filters.
-
-
Add the “Open Order Quantity” as a filter
-
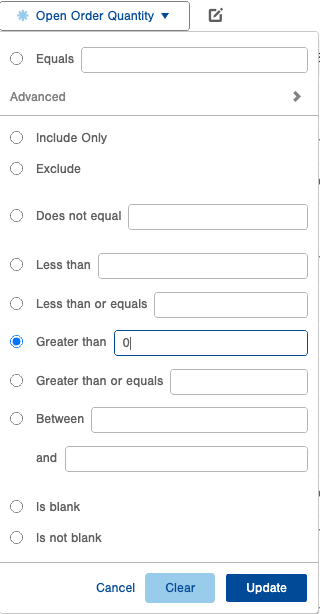
Filter “Open Order Quantity” for greater than 0
-
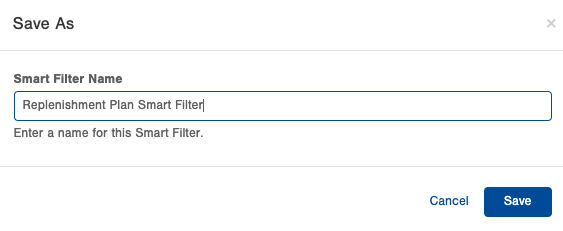
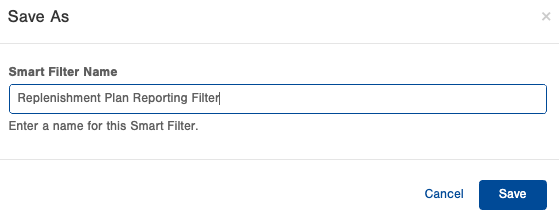
Save this view as a Smart Filter
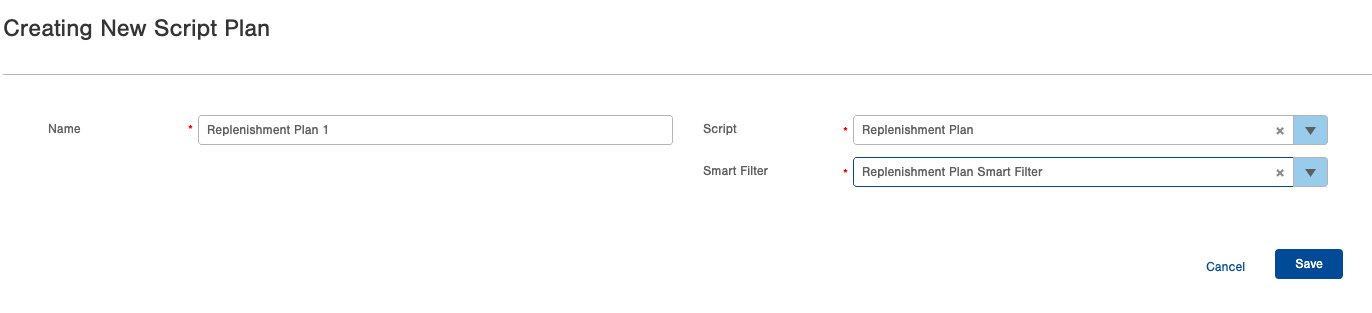
Step 4: Create a Script Plan
-
Using your quick actions menu (.), navigate to the “Script Plan” table
-
Select Create New at the top right
-
Select your Script and your Smart Filter
-
Name the plan and save
-
Using your quick actions menu (.), navigate to the “Manage Scheduled Plans” table
- Learn more about Creating and Managing Scheduled Plans
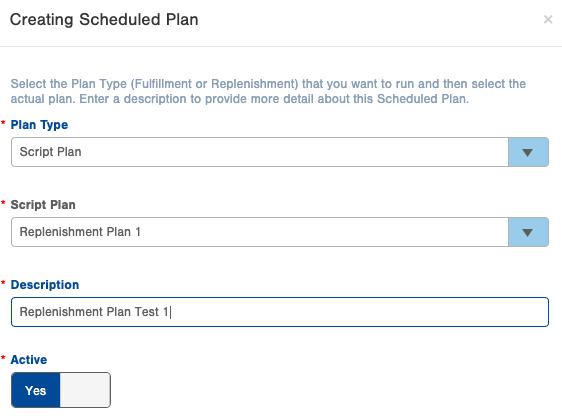
- Select Create New at the top right
- Select “Script Plan” and select your Script Plan
- Add a description, set Active to “yes”, and save.
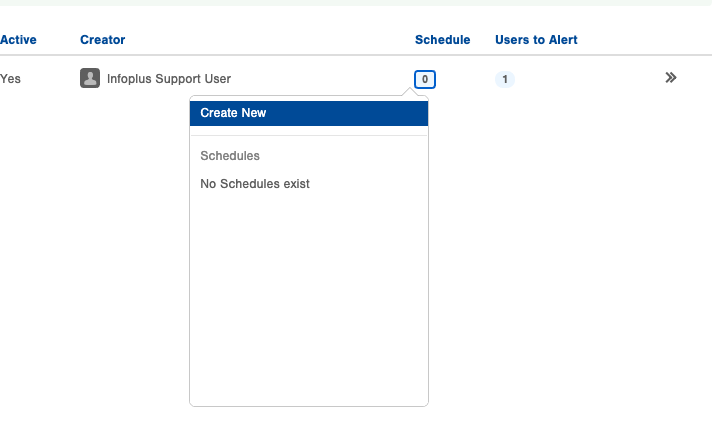
- After the Scheduled Plan is created, find it on the table and go to the “Scheduled” column. Click on the ‘0’ and then click ‘Create New” to select a schedule to run this plan on.
-
-
How often should the replenishments take place?
-
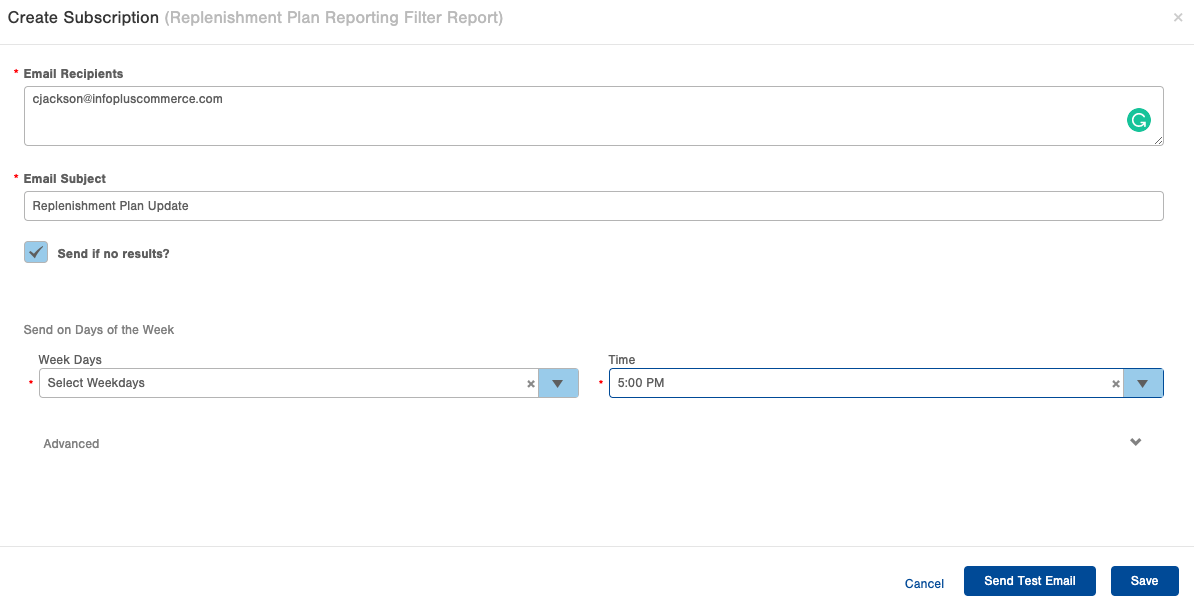
Example Schedule:
You can select to run the schedule in 4 different ways:
-
Week Days + Time
-
Days of the Month + Time
-
Certain Weekdays of the Month + Time
-
Crohn Schedule + Time
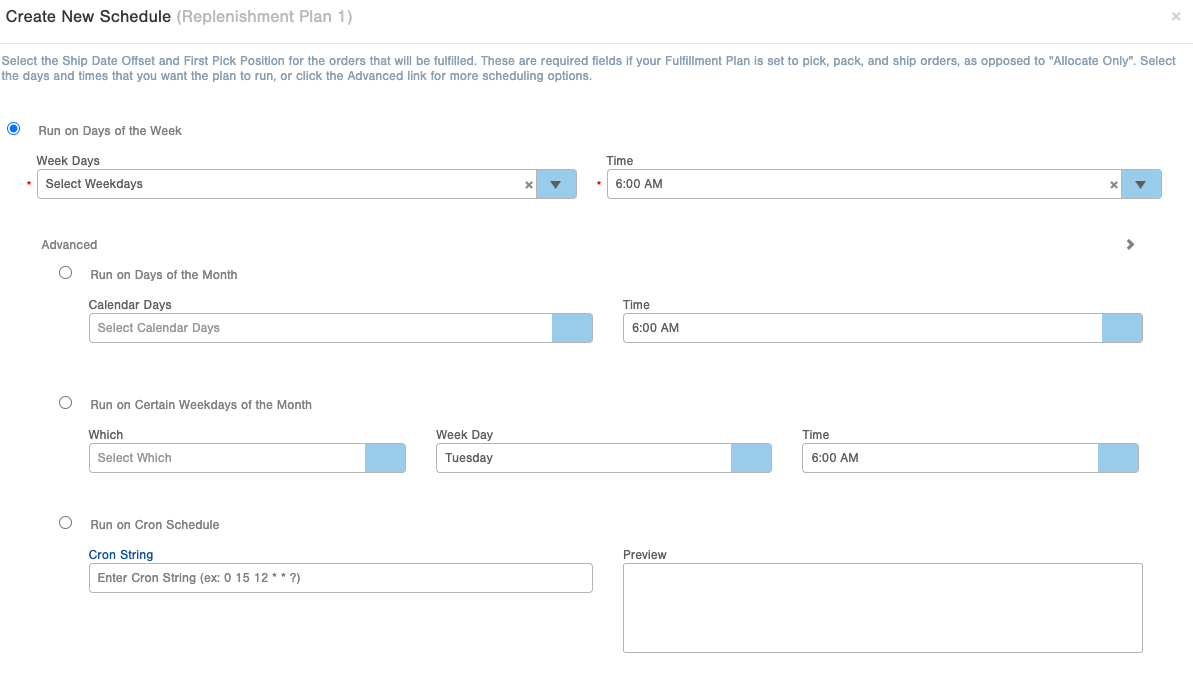
After you set the schedule and click save, you will notice the number under “Schedule” increase from ‘0’ to ‘1’.
Step 5: Create a Report to Keep You Updated
-
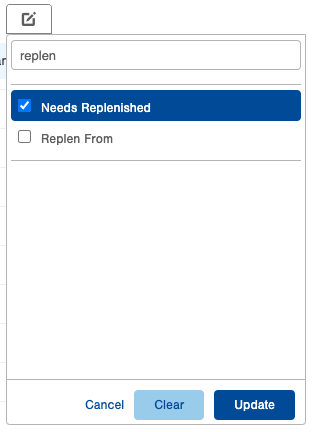
Create a Smart Filter
-
Item Table
-
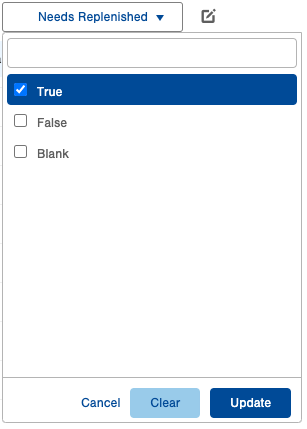
Needs Replenishment = True
-
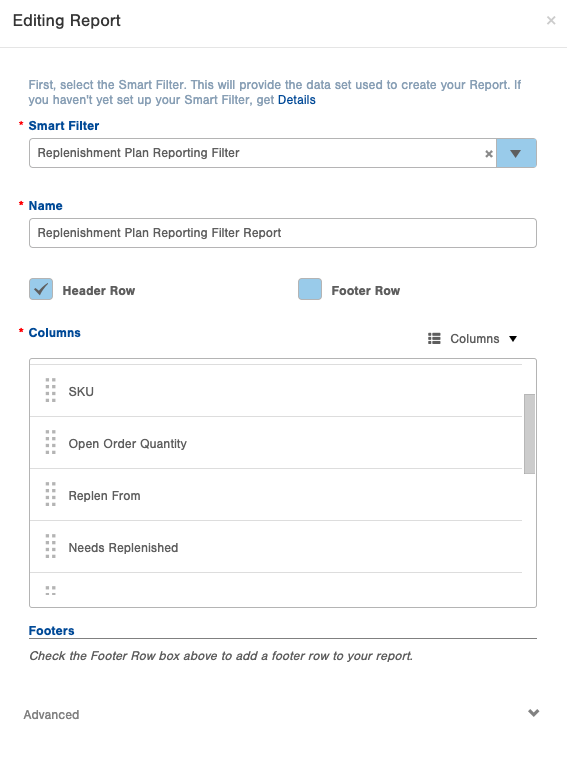
2. Navigate to the “Managed User Reports” Table
3. Use your new smart filter
4. At a minimum, have the following columns:
-
-
SKU
-
Replen From
-
Open Order Quantity
-
5. Schedule the report to run on a timeline right after the script plan runs
-
-
For example, if the Script Plan runs at 5pm, have the Report scheduled to run at 6pm so the script has time to work
-