Asendia is a specific parcel carrier that requires unique information that needs to be delivered from Infoplus via a manifest script.
What is Asendia?
Asendia is a specific parcel carrier. If you need to work with Asendia to send information to them from EasyPost, you will need to create a Manifest Script that communicates specifically with Asendia, which requires some unique information.
Asendia can generally tell you which carrier_facility you should be using for the given Asendia account. You can reach out to Asendia directly for this information.
Example:
- LAX is for locations shipping from closest to Los Angeles, California
- ORD is for locations shipping from closest to Chicago, Illinois
- PHL is for locations shipping from closest to Philadelphia, Pennsylvania
Why Do I Need a New Script to Use Asendia?
Asendia works with International mail services and requires some additional non-standard data to be included that will need to be provided by a Manifest Script.
What is a Manifest Script?
A Manifest script is used to customize the data or business rules that you use to create shipments or parcel labels. A script uses an API call to communicate with manifest parcel partners. You can use this type of script to add accessories to shipments or adjust data on a label.
Example Scenarios for Manifest Script Use:
1. An order needs dry ice added to it based on the product or order ship-to address
2. A business rule that says based on the carrier, you want to increase or decrease the total weight of a Carton in certain circumstances
Infoplus Support can help with general questions about how scripting works. For help with a specific script or its outputs, you will need to submit a Pro Services request for paid support. Pro Service request form can be found here.
How to Create a Manifest Script for Asendia
As mentioned above, you need to create a unique Manifest Script to communicate with Asendia because they require specific information. Here are the step-by-step instructions on how to create that script:
- In Infoplus, go to the Script table. Two ways:
- Dashboard: Apps>Tools>Scripts>Tables>Scripts
- Quick Actions Shortcut: Press a dot (period) on your keyboard, then select 'Script' from the list of Quick Actions.
-
Once you are on the Scripts Table, click the Create New button in the top right corner.

- Fill out the required fields
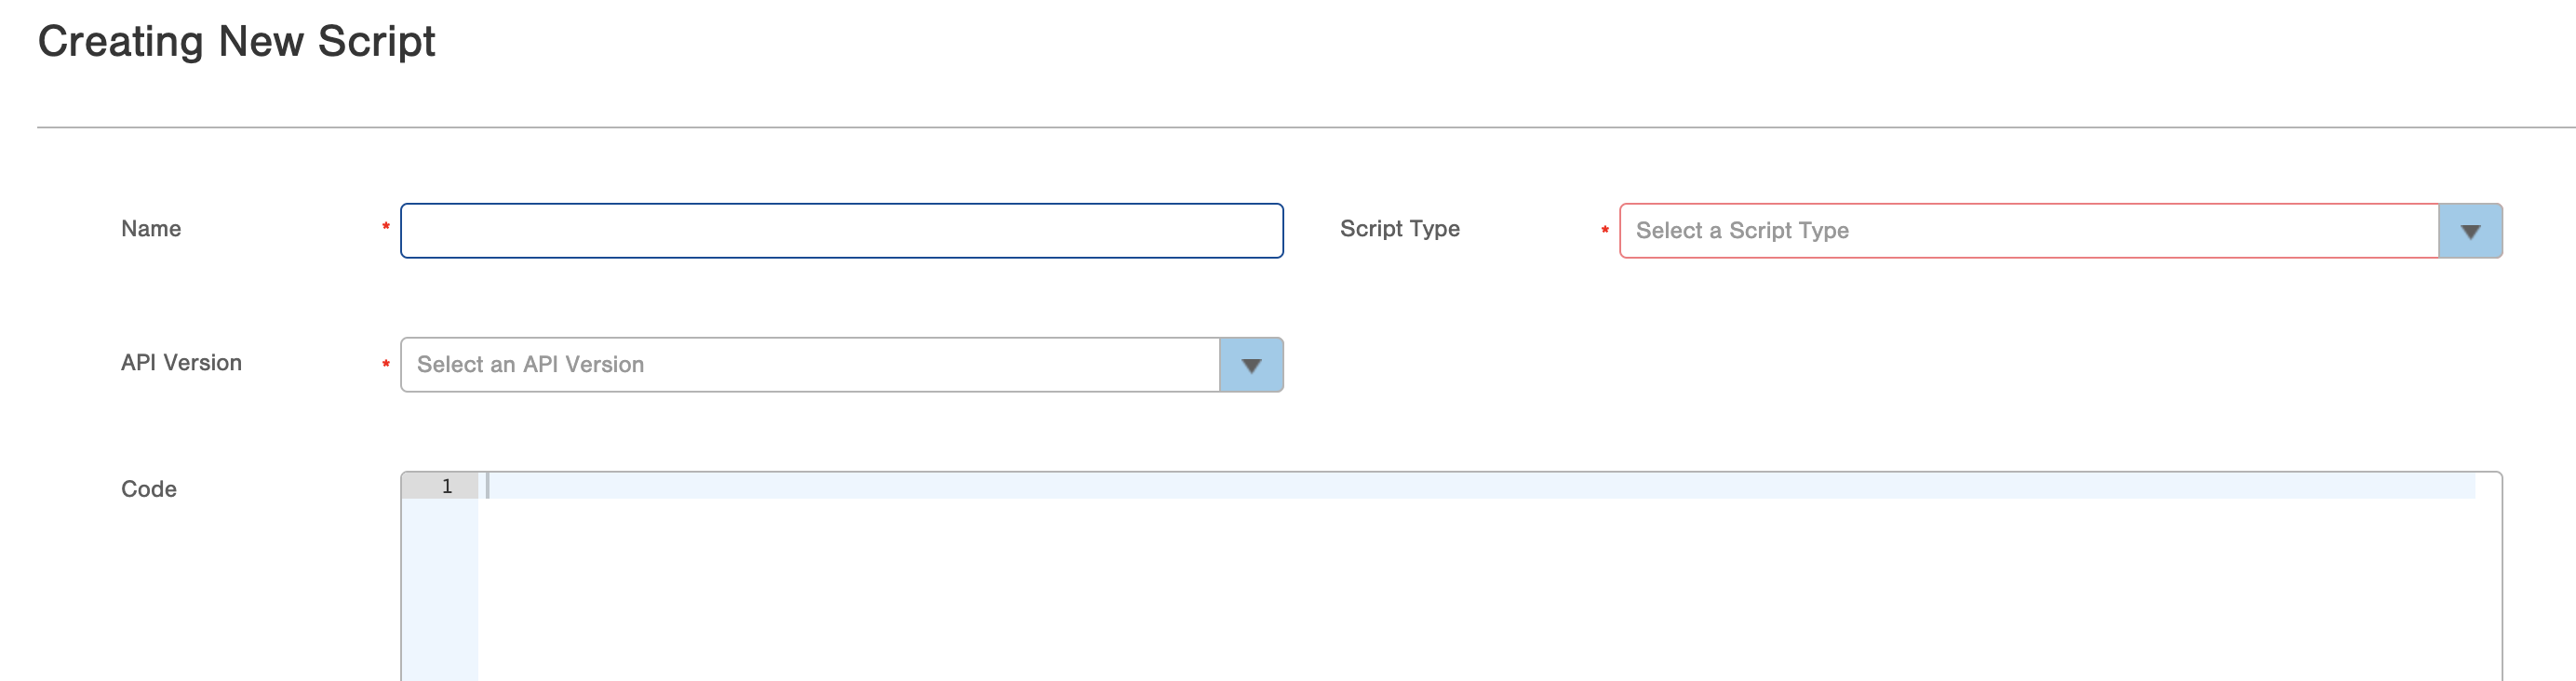
- Name: Enter a descriptive name to identify this script by
- Script Type: select 'Manifest' from the dropdown menu
- API Version: Beta
- Enter the JavaScript Code for the script.
- Asendia requires an additional field of “carrier_facility” added to the “from_address”
- Here is an example Manifest Script for Asendia:
- Two warehouses
- Ensures the Order is for an Asendia service
- Any orders with the warehouse ID of 1111 will map "PHL" to the facility code and any others will default to "ORD"
- Customize the script to meet your exact needs for Asendia communication
-
Carrier id values
-
Warehouse id values
-
What “carrier_facility” needs to be sent for your different Warehouses
-
- Asendia requires an additional field of “carrier_facility” added to the “from_address”
5. Click Save
Example Asendia Manifest Script
Set Up Triggers for Asendia Script
Once the script is saved, you will likely want to set up automation triggers for assigning this manifest script to orders as they are imported or are modified to use the Asendia carrier.
How to Set Up Asendia Order Triggers
-
Create a manifest script with your specific business rules and information built upon the example above. Please note the name used to save it.
-
This Asendia Manifest Script will likely need customization for your site, including:
-
Carrier id values
-
Warehouse id values
-
What “carrier_facility” needs to be sent for your different Warehouses
-
-
-
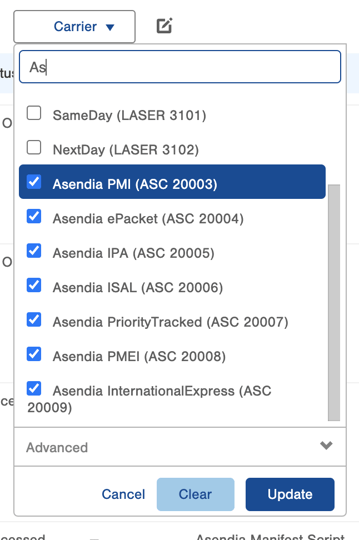
Navigate to the Orders Table and Setup and Save a Smart Filter with the following filters:
-
Orders coded to any corresponding carrier value of Bond services
-
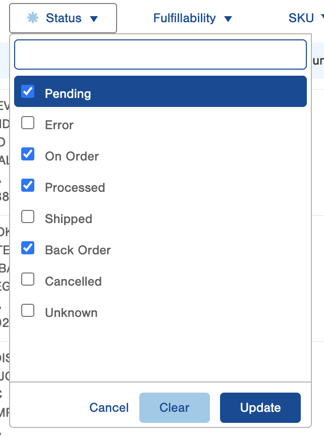
Orders with specific status values:
-
On Order
-
Processed
-
Pending
-
Backorder
-
-
Save the Smart Filter and name is something related to the Bond carrier such as 'Bond V2 Orders'
-
- Navigate to the Manage Trigger table
- 1 - Use the period key and begin typing 'Trigger', then click on Manage Triggers from the drop-down
- 2 - Navigate to the Apps>Account>Building Blocks>Manage Triggers from the Infoplus dashboard

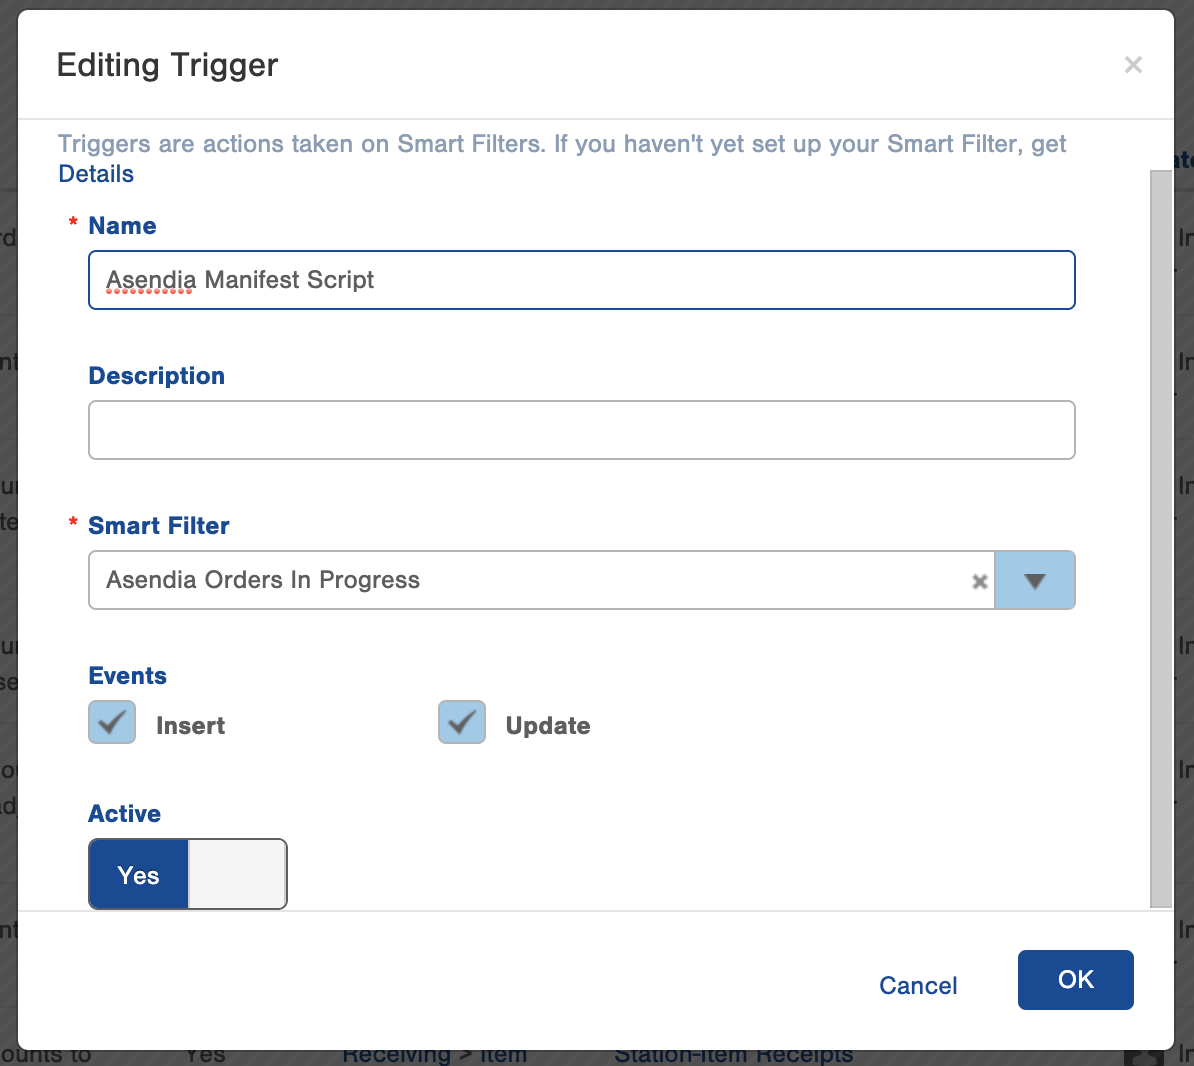
- Once you are on the Manage Triggers table, select 'Create New' in the top right and fill in the required fields:
- Name: Asendia Orders in Progress(or any identifying criteria that you would like to use)
- Description: any additional identifying information
- Smart Filter: Select the Asendia Orders in Progress Smart Filter from the drop-down
- Make sure 'Insert' is checked
- Set Active to 'Yes'
- Then click 'OK'
- Select the actions on the Trigger, and create new
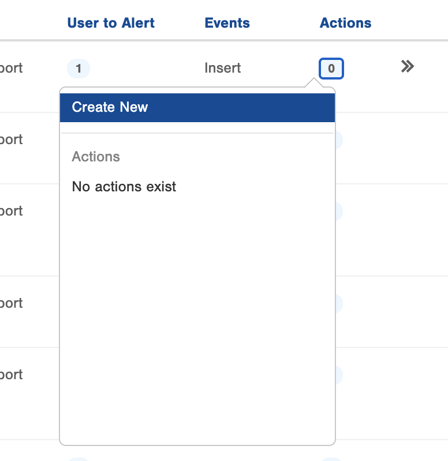
-
Choose the 'Change Manifest Script' action


7. Select the corresponding Script that was created in step one of this process as well
8. Click Save