If you use Shopify for your eCommerce site, you can connect it directly to Infoplus to receive orders automatically. Here are the steps to set it up:
If you have a Shopify eCommerce site, you can integrate the site with Infoplus. With this integration you can automate sending Orders, receiving inventory, and fulfillment updates automatically.
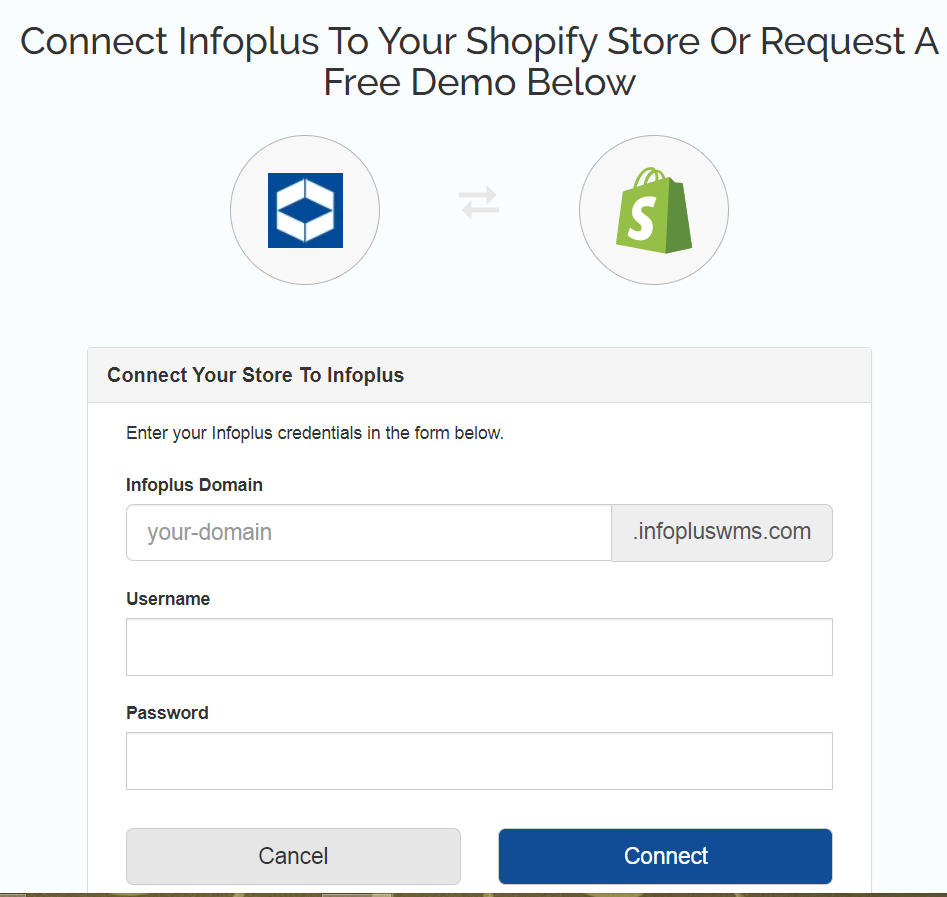
Your 3PL provider should have already provided your company with the 3 pieces of data. If you do not have the credentials needed to complete the process below, please contact your provider.
- Infoplus Domain
- Username
- Password
.
There are two important things that need to be done here:
- Connect the Shopify Site to Infoplus
- Configure Products to be Managed by Infoplus
- Note: If this step is skipped, Inventory and Tracking information will not be automatically synced from Infoplus to Shopify.
Connecting Infoplus to your Shopify Site
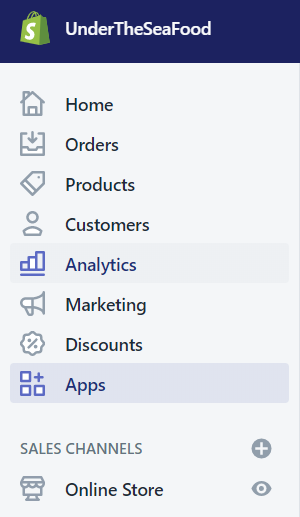
- Log In as Administrator to the Shopify Site and locate the Apps menu bar.
- Locate the Apps on the menu bar at the top left of the screen.
- Locate the Apps on the menu bar at the top left of the screen.
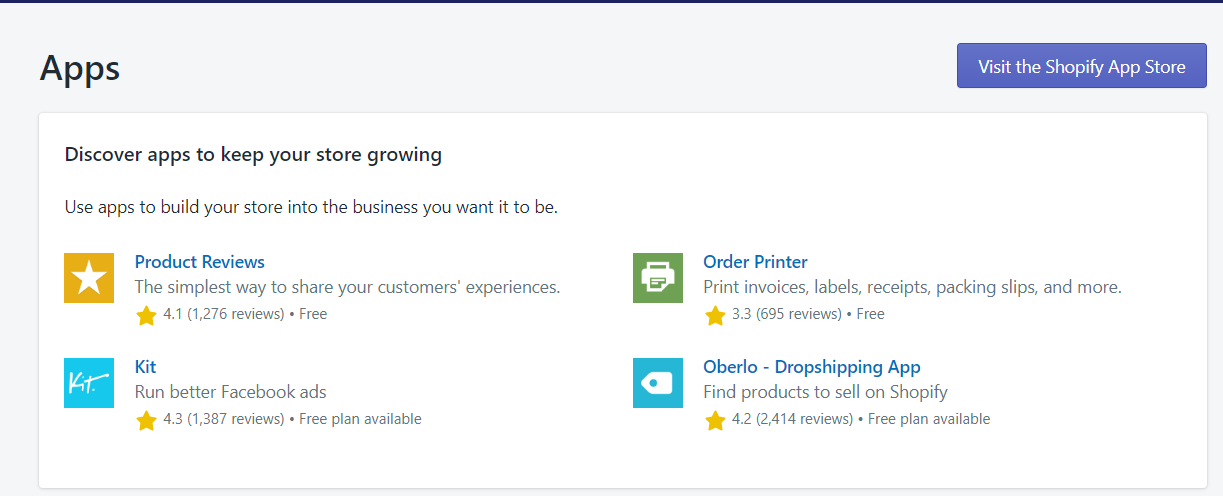
- Locate and click the “Visit the Shopify App Store” button.
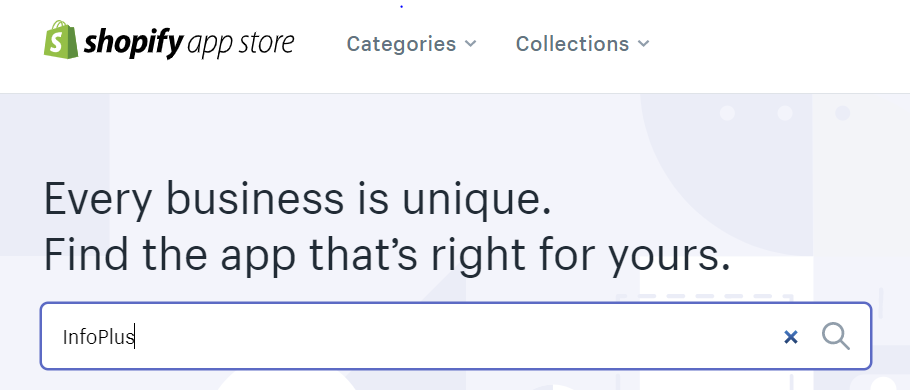
- Using the search bar, search for “Infoplus”.
- The Infoplus app should appear. Click on the app for the option to install.
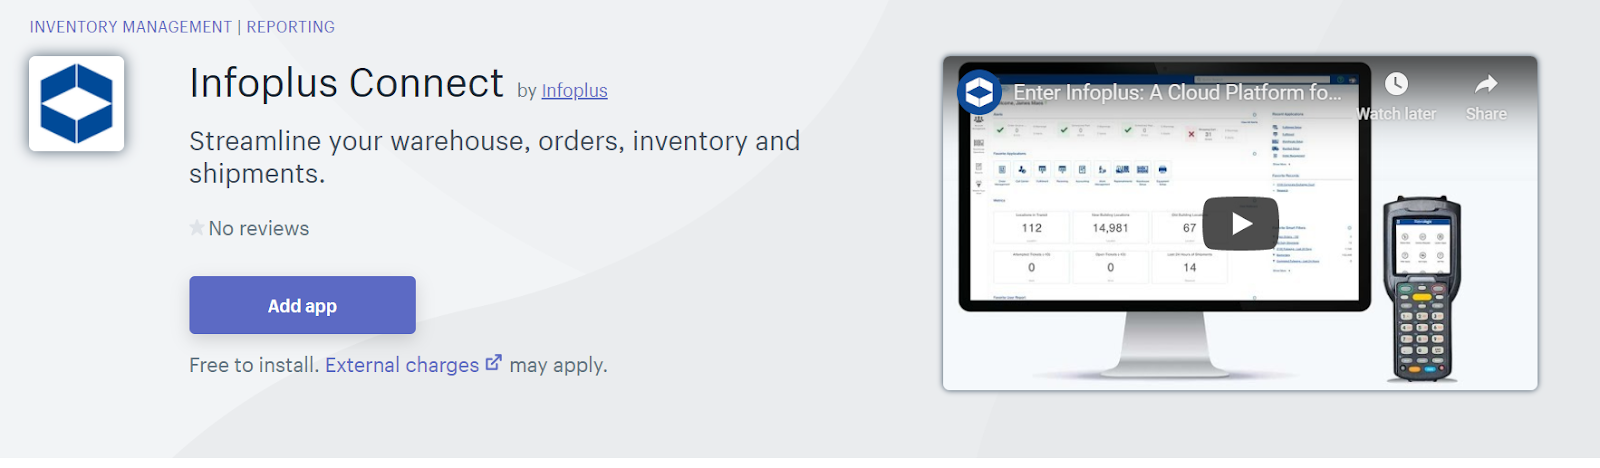
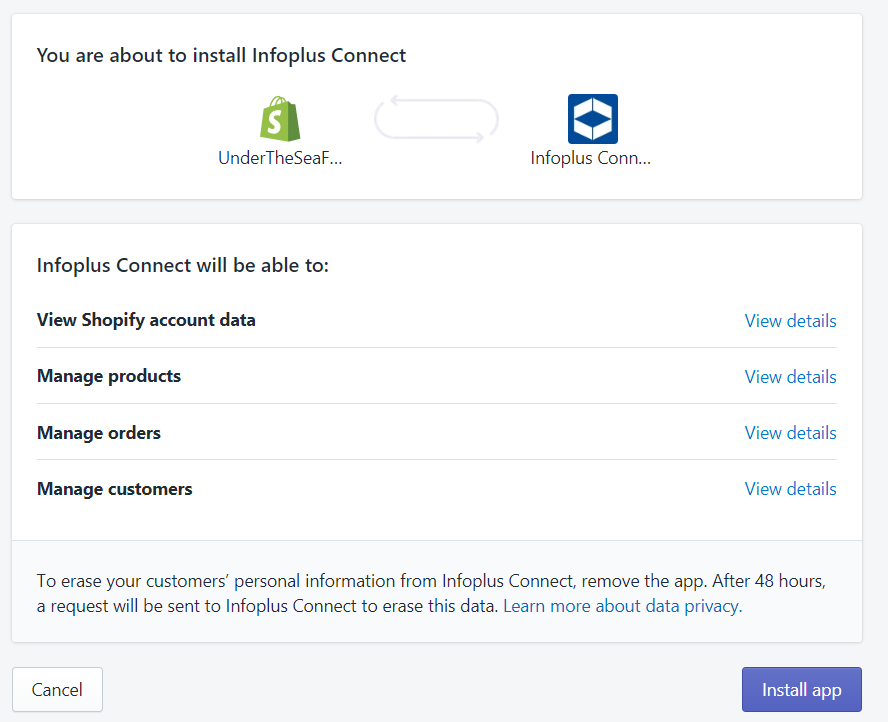
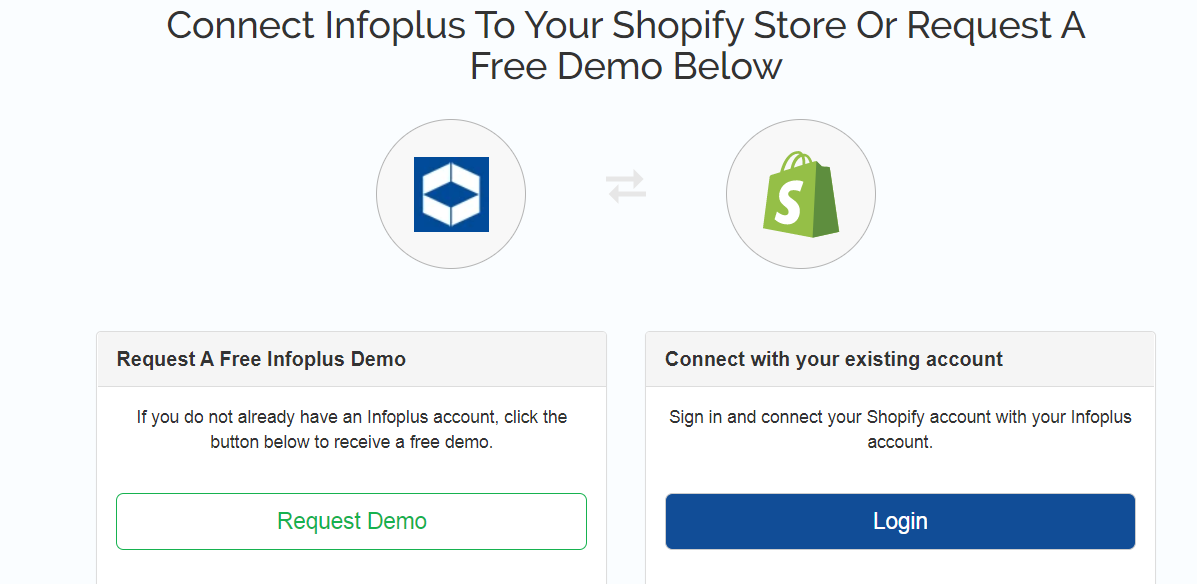
- Login in using your Infoplus username and password. Your Infoplus Domain is located in the URL of your Infoplus site.
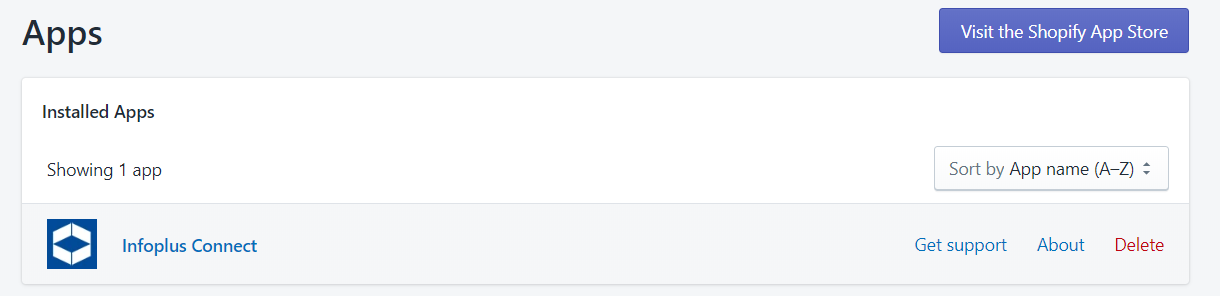
- To Confirm the installation, check the Apps to see if Infoplus was successfully installed.
Configure Products in Shopify to be Managed by Infoplus
Choose Which Products Should be Fulfilled by Infoplus
For each product you want Infoplus to fulfill, complete these steps in Shopify.
NOTE: Infoplus expects each SKU to be unique within Shopify. If more than one product is set up with the same SKU within Shopify, unpredictable behavior may occur set to Infoplus.
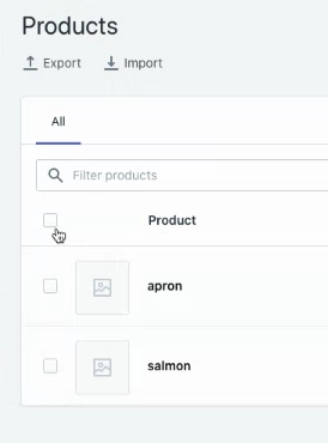
- In Shopify, access the Products section.
- Click on the product that should be fulfilled by Infoplus by clicking the check box.
- Click on the product that should be fulfilled by Infoplus by clicking the check box.
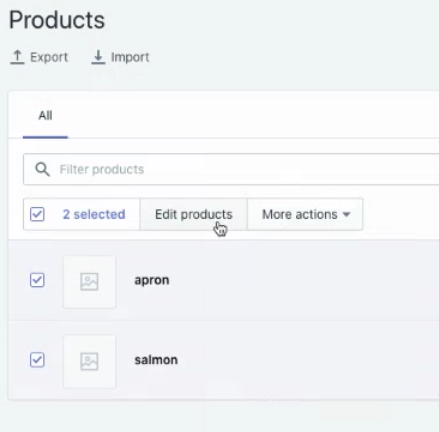
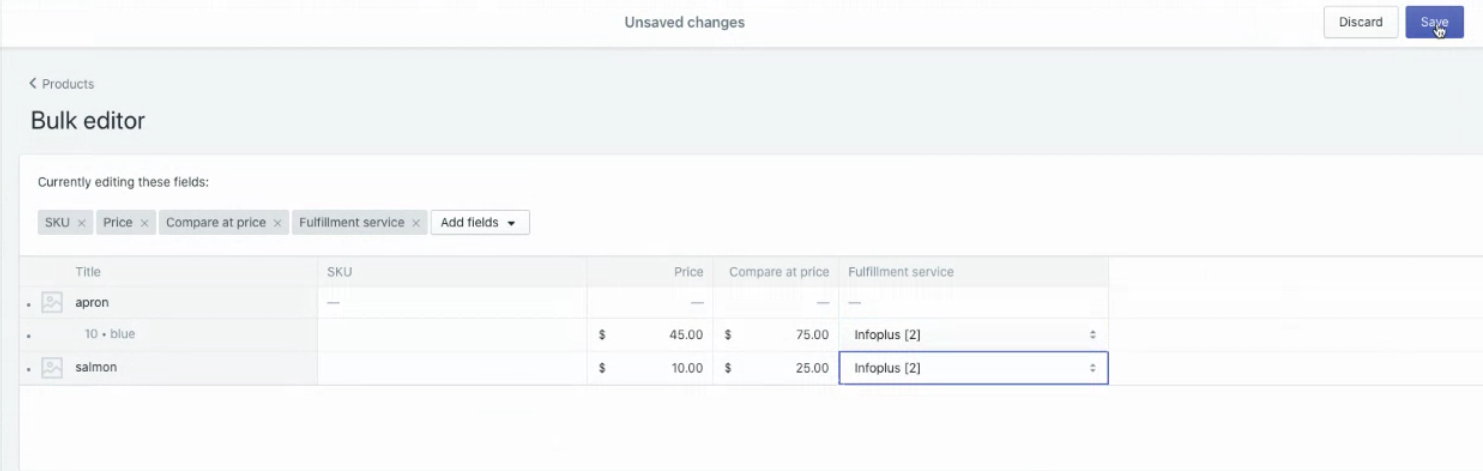
4. Select Edit Products field. Here's a screenshot showing the field
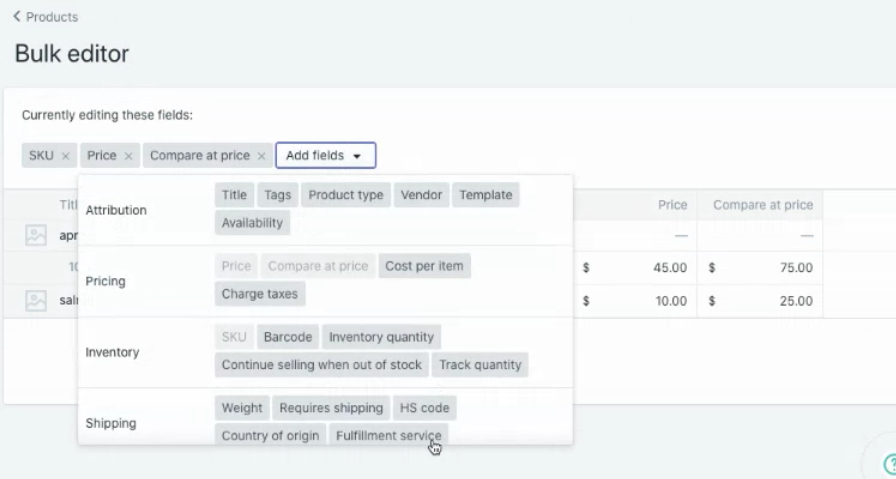
5. Under the Add Fields drop-down select Fulfillment Service, located in the Shipping section. Here's a screenshot showing the field:
6. Select Infoplus as the Fulfillment Service
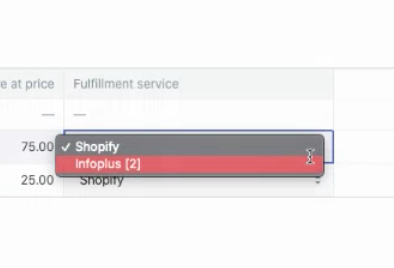
7. Click Save.
Perform the same steps above for each product to be fulfilled by Infoplus.
NOTE: Orders will still be sent to Infoplus regardless if this is set but Shopify will only receive updates from Infoplus when the Order is shipped if this is set to Infoplus.
Choose to Which Products to Track Inventory
For each product you want Infoplus to communicate product inventory levels to Shopify, complete these steps in Shopify.
NOTE: The "Sync Inventory" field in the Shopify Shopping Cart Connection record must also be set to "True.
In Shopify, access the Products section.
- Click on the product whose inventory you want to track. An edit screen will appear.
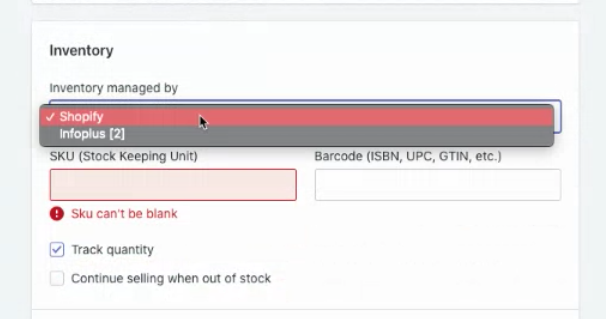
- In the Inventory Managed field, select "Shopify." Here's a screenshot showing the field:
- 3. Click
- 4. Perform the same steps above for each product whose inventory you want to track in Shopify.

Note: If the original order is unshipped and a new label is generated, updated tracking is lost and not sent back to Shopify.