You will need to set up carts in Infoplus if you are using the Pick to Cart fulfillment method. Here is how to set up carts.
Before you can use the Pick to Cart Fulfillment Plan for picking orders, you will need to create your Carts in Infoplus.
How to Create a Cart
- Access the Cart Table. Two ways:
- From the Dashboard: Click the “Apps” tab, click the “Fulfillment Setup” App, then click the “Cart” Table.
- From the Quick Actions shortcut: Press a dot (period) on your keyboard, then select “Cart” from the list of Quick Actions.
- Click the Create New button in the top right. The "Creating New Cart" screen appears:
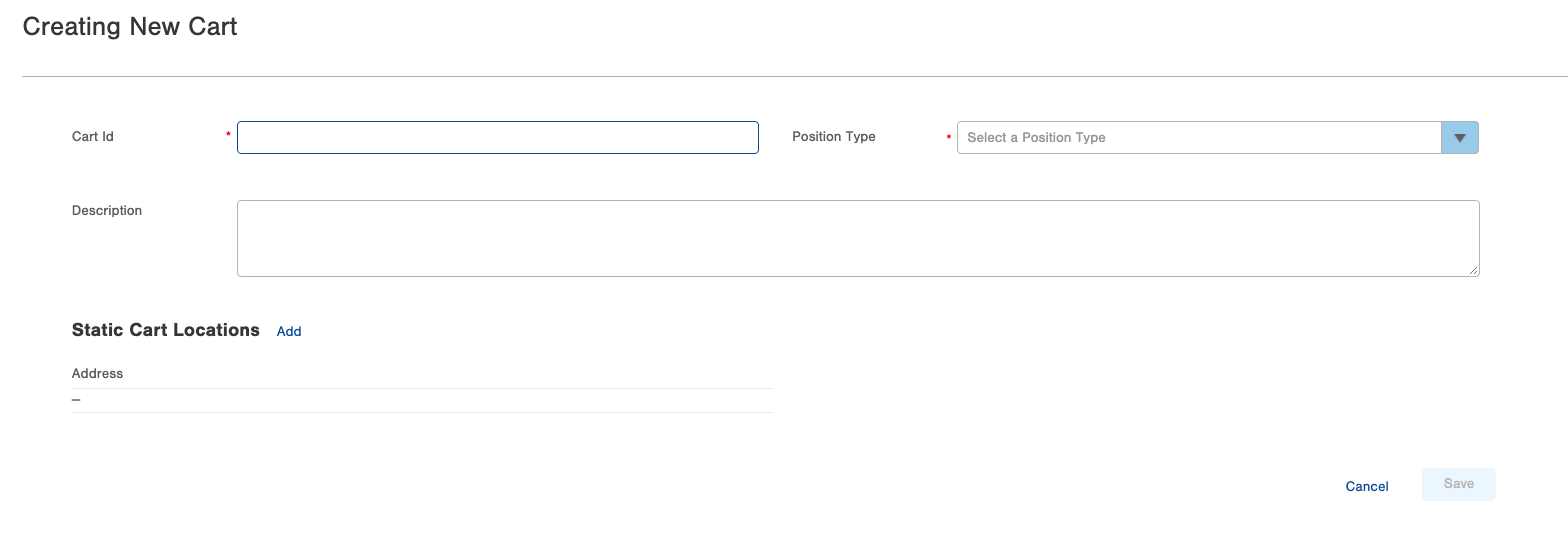
- Enter a Cart Id (eg CART-A).
- This is the name of your cart, you will create a barcode for this value if you don't have one already.
- Choose the Position Type:
- Dynamic - the Cart Locations change.
- Static - the Cart Locations will never change.
- Optionally add a Description.
- If the Position Type is Static, click the add button next to Static Cart Locations and the Add Static Cart Location screen appears:
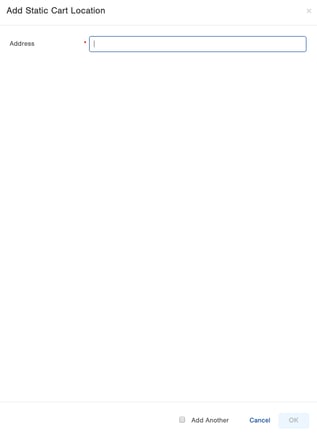
- The Address is the name of the Cart Location that will have a barcode made for it if it doesn't have one already.
- Add as many Addresses based on how many Cart Locations each cart has.
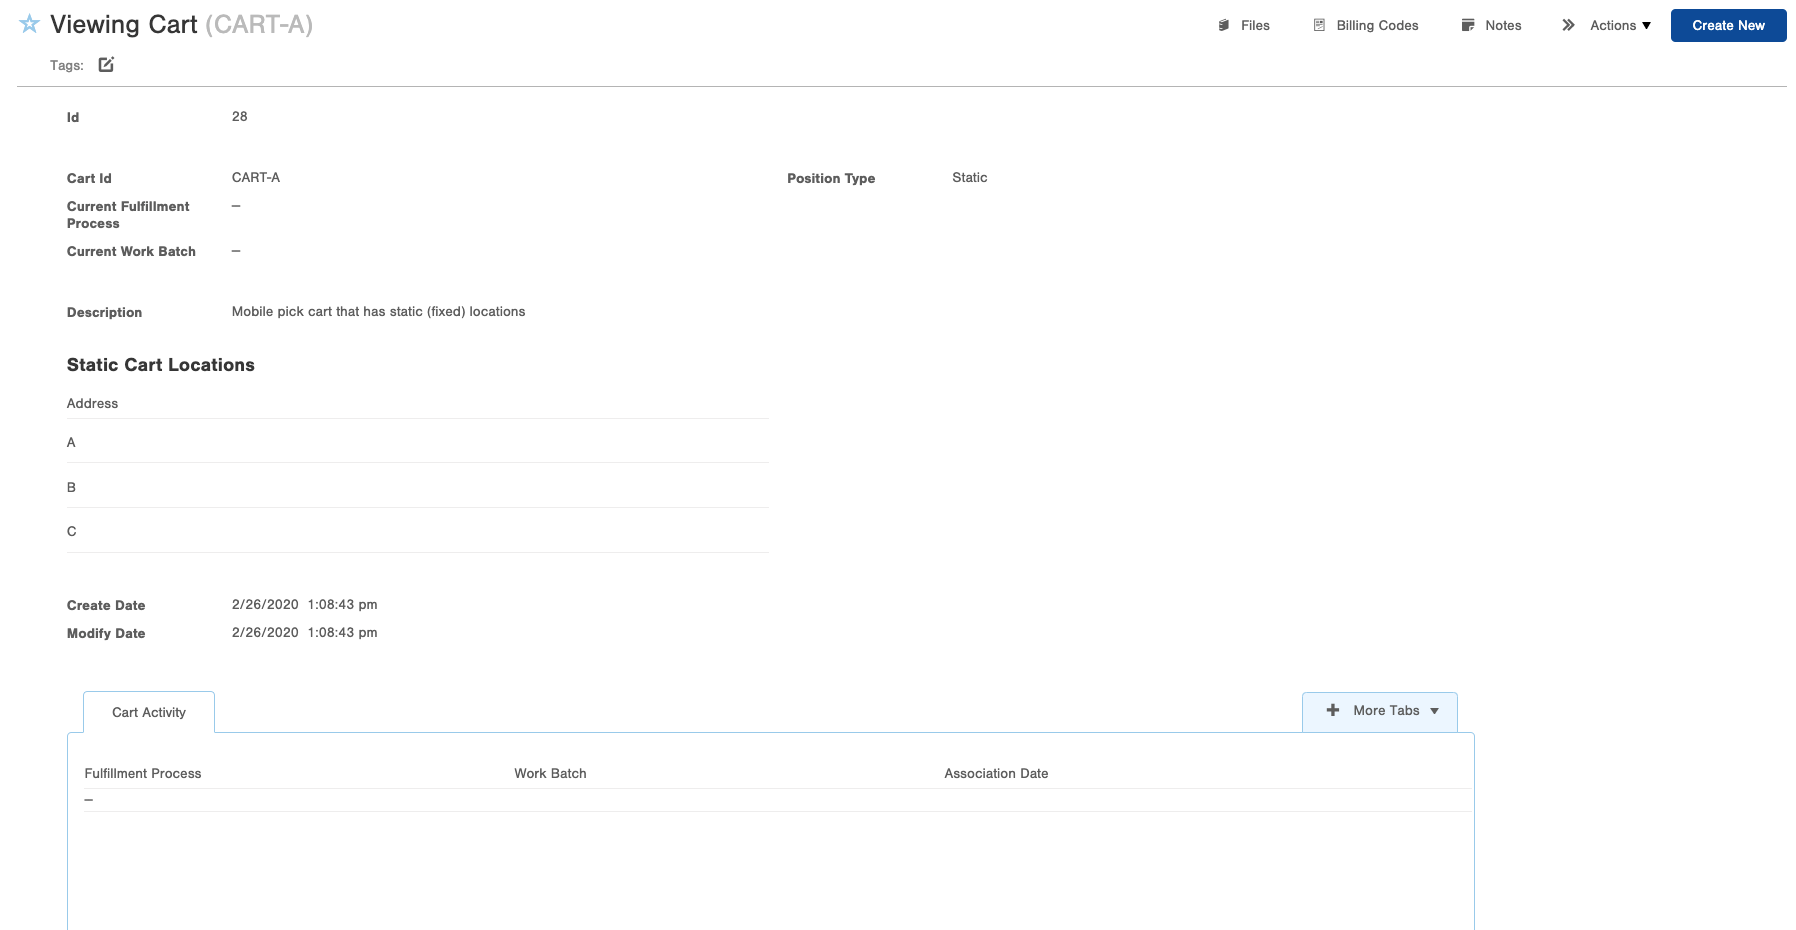
- Once you are done, click Save.
Creating a Barcode for Carts and Cart Locations
Here are some generic examples for cart and cart location barcodes. Note: The dimensions can be changed for the size of the template and the barcode.
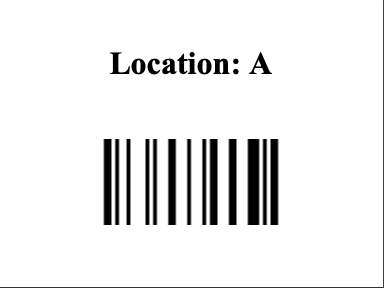
Cart Barcode
Barcode template setup:

Source Code (click the Source Code button <> and paste the below code):
Example:

Cart Location Barcode
Barcode template setup:

Source Code (click the Source Code button <> and paste the below code):
Example: