This is a tutorial on how to set up barcodes, test barcodes, run a barcode report, and other important barcode specifications.
With Barcode Templates, you can create barcode reports using values from your records in Infoplus. For example:
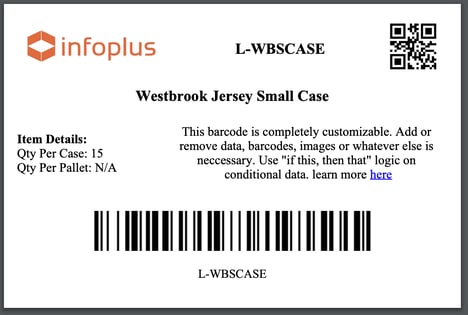
- Create stickers with UPC barcodes for all of your inventory that can be scanned when picking items for an order.
- Create labels for outbound cartons showing a barcode of the Order Number.
Any value in a field in Infoplus can be used to create a barcode. A PDF file of the barcode(s) will be generated that you can then print as needed.
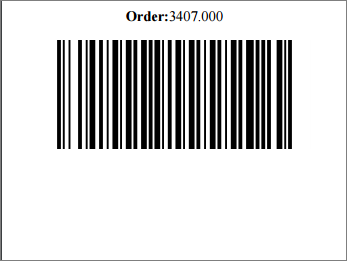
Here's an example of a barcode label that was created to show the Order number:
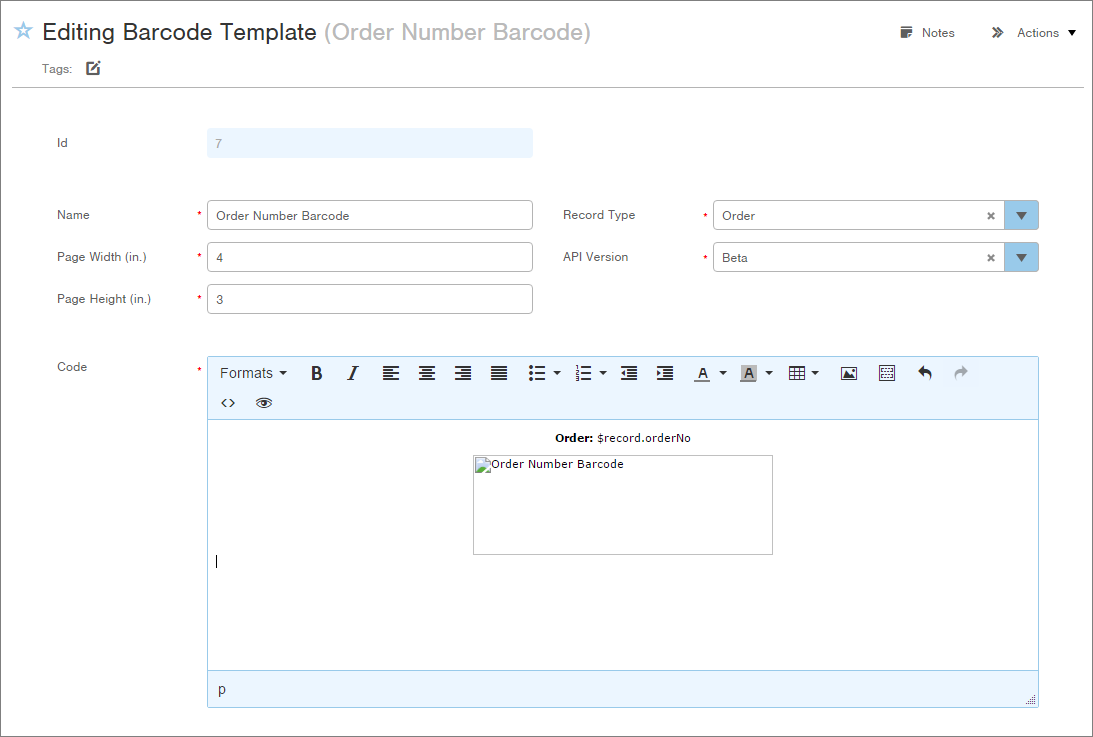
To create the label above, the Barcode Template was created with these selections:
Follow the steps below to create a Barcode Template similar to the one above. This article contains the following instructions:
- Create a Barcode Template
- Preview a Barcode Template
- Run the Barcodes Report
Create a Barcode Template
- Access the "Barcode Template" table. Two methods:
- From the Dashboard: Click the “Account Management” tab, click the “Scripts” App, then click the “Barcode Template” Table.
- From the Quick Actions shortcut: Press a dot (period) on your keyboard, then select “Barcode Template” from the list of Quick Actions. - Click the Create New button in the top right. The Creating New Barcode Template screen appears:
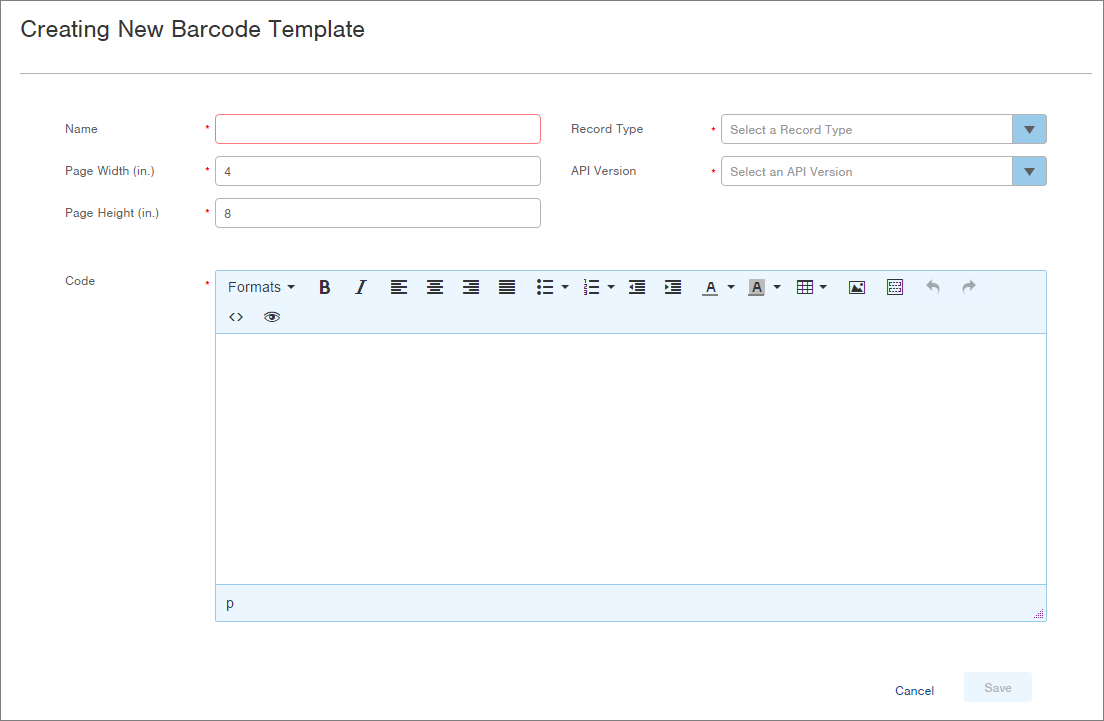
- Enter a Name that describes what this template will display or other relevant information for you to identify the template (e.g., Order Number Barcode).
- In the Page Width field, enter the width (in inches) of the page that you will be printing on (e.g., if printing on a 4" x 3" sticker sheet, enter 4).
- In the Page Height field, enter the height (in inches) of the page that you will be printing on (e.g., if printing on a 4" x 3" sticker sheet, enter 3).
- In the Record Type field, select the type of record that you will pull value(s) from (e.g., if you want to display an Order Number, select Order as the Record Type, if you want to display an Item's UPC, select Item as the Record Type, etc.).
- In the API Version field, select the version of the Infoplus API that you want to use. This selection will drive what variable names you can use in the Code below. You will typically select the last API used.
Use the Code Editor
- In the Code Editor, type the text and field variables that you want to display in the template. Then format the content using the toolbar.
NOTE: A variable is code that tells Infoplus where to get a value. To request a value from a field, start by typing $record. and then type the field name. For example, if you want to display the Order Number, you would type $record.orderNo. Field names are available in the Infoplus API Reference Site. Select the correct API version and table (that corresponds to the Record Type selected above) on the left. - To insert the barcode, click the Insert/Edit Image button (
 ). This screen will appear:
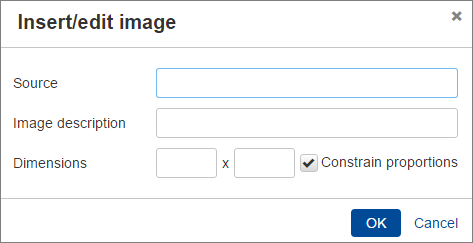
- In the Source field, type $barcodes. and then type the field name that you want represented by a barcode. For example, if you want the Order Number to display as a barcode, type $barcodes.orderNo.
- You can also generate a barcode from any value you wish, besides just fields on the record (such as a field from a different record type, a value generated by a script, or even a hard-coded string) by using code such as: ${utils.generateBase64Barcode($myValue)} to render a barcode from the variable $myValue, or ${utils.generateBase64Barcode('1234-9876') to render a barcode from the string 1234-9876 (being sure to enclose the hard-coded string in single-quote characters, as shown here).
- If the value is an integer, you will first need to convert it to a string using ($myValue.toString())
- To generate a UPC-A barcode for any value you wish, use the following code:
${utils.generateBase64Barcode('UPCA','123456789012')}
- You can also generate a barcode from any value you wish, besides just fields on the record (such as a field from a different record type, a value generated by a script, or even a hard-coded string) by using code such as: ${utils.generateBase64Barcode($myValue)} to render a barcode from the variable $myValue, or ${utils.generateBase64Barcode('1234-9876') to render a barcode from the string 1234-9876 (being sure to enclose the hard-coded string in single-quote characters, as shown here).
- In the Image description field, type text that will display when the barcode image is not visible (e.g., Order Number Barcode).
- In the Dimensions fields, enter the width and height of the barcode image. These dimensions are typically no less than 100 pixels wide by 40 pixels high.
Here's an example of the completed Insert/edit image screen for the Order Number label shown above: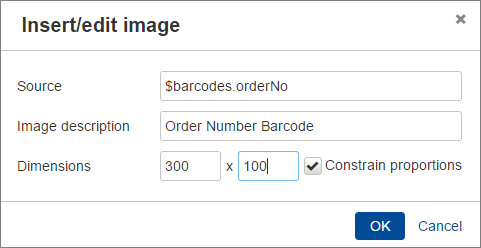
- Click OK.
- Apply any formatting to the content in the Code Editor as needed (e.g., to center all of the content, select the content and then click the
 button).
 - Once you are done creating the Barcode Template, click Save. The template is saved and available for use.
Preview the Barcode Template
You can preview a Barcode Template any time, but we recommend previewing the template immediately after you create it to ensure it displays as desired.
- From within the Barcode Template record, select Actions > Preview Barcode Template. The Setup step in the process appears.
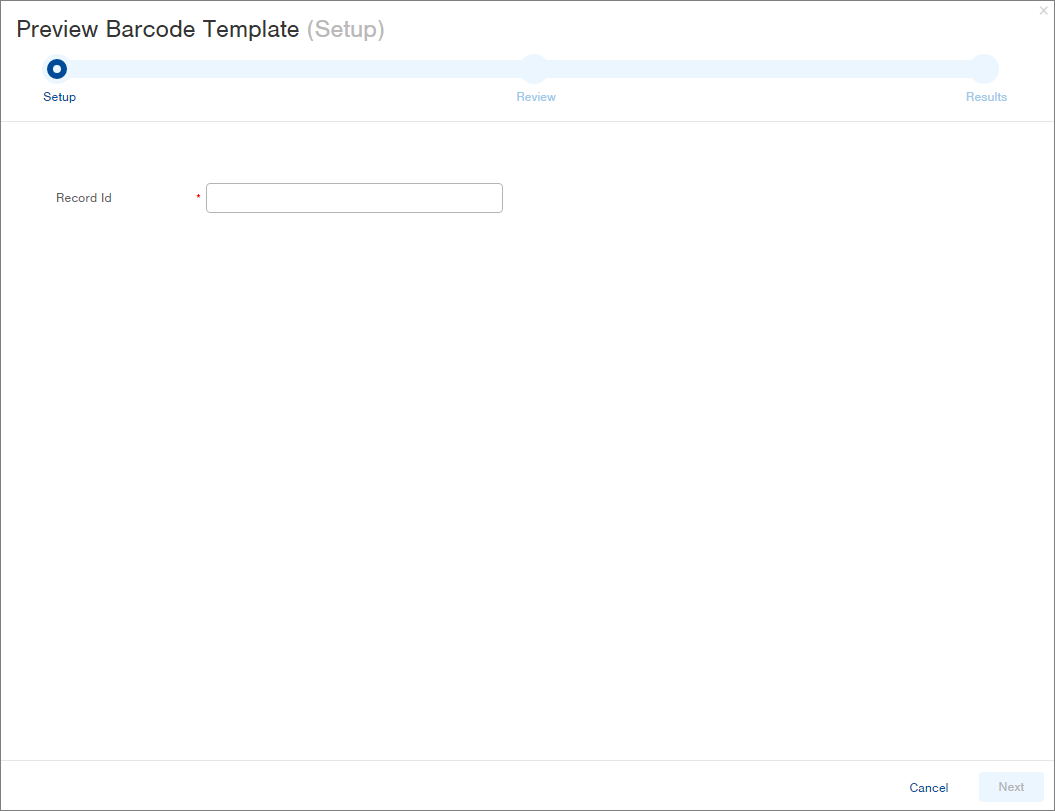
- Enter a Record ID to use for the preview. For example, if you are previewing a template showing an Order Number, enter an existing order number to use as the record in the preview.
- Click Next. The Review step in the process appears.
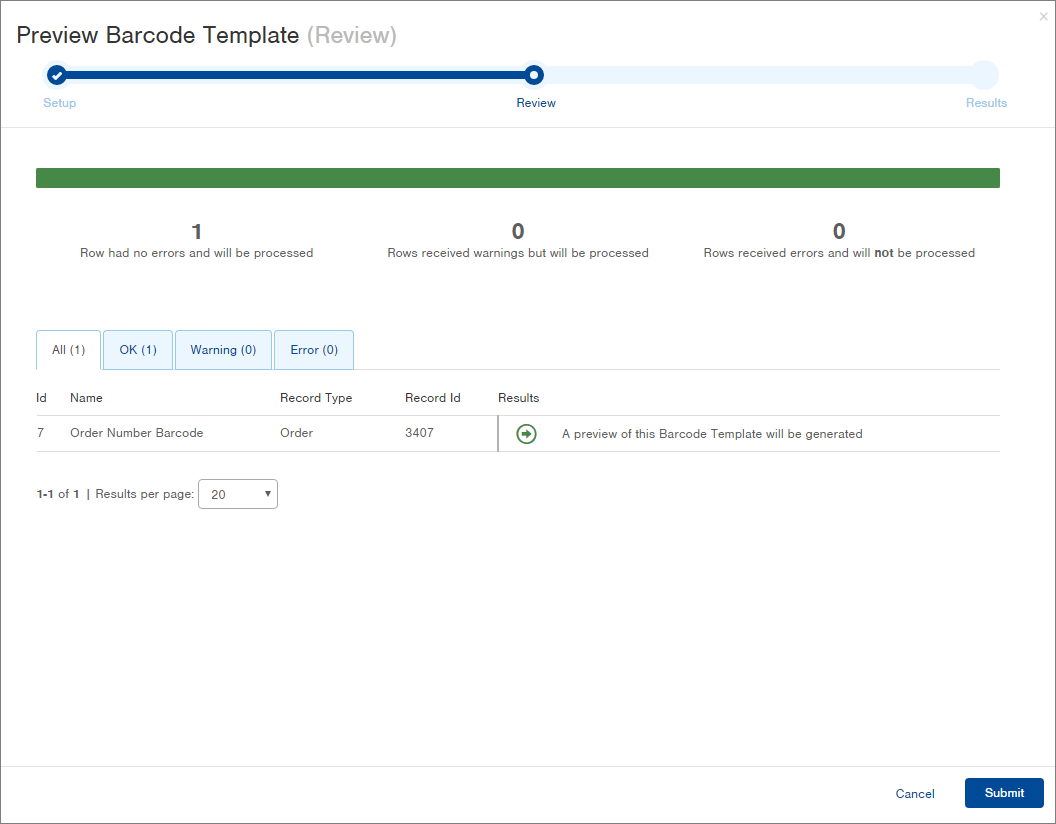
- Review the Results. If a green arrow displays, the preview will be generated.
- Click Submit. The final Results screen appears.
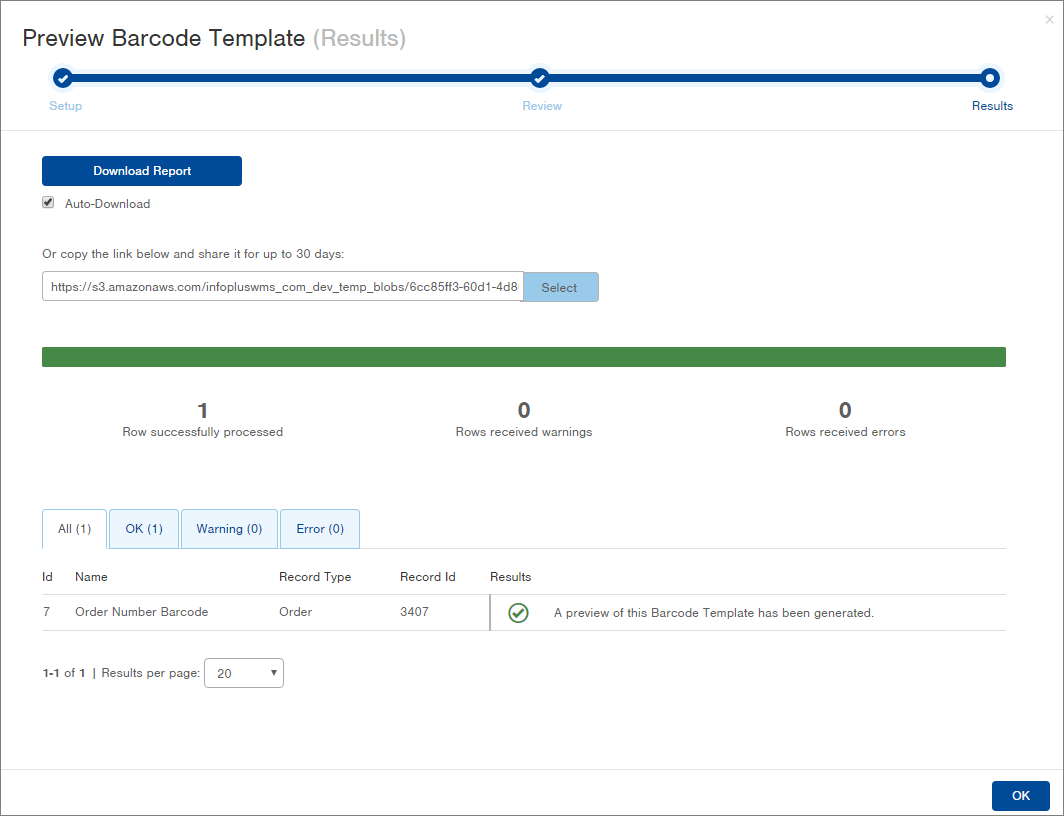
-
To view the template, click Download Report. Another tab will open in the browser displaying the preview.
-
Click back on the Infoplus browser tab and click OK to close the preview process. If you need to edit the template, open the template record and select Actions > Edit.
Run a Barcode Report
A Barcode Report will display values from selected records based on the Barcode Template you select.
- Access the Table containing the records you want to use in the Barcodes report (e.g., if you want to display Order Number Barcodes, access the Orders table).
- Click the checkbox next to each record that you want to use in the Barcodes report.
- Click the Actions button.
- From the list of Reports, select Barcodes. The Setup step in running the report appears.
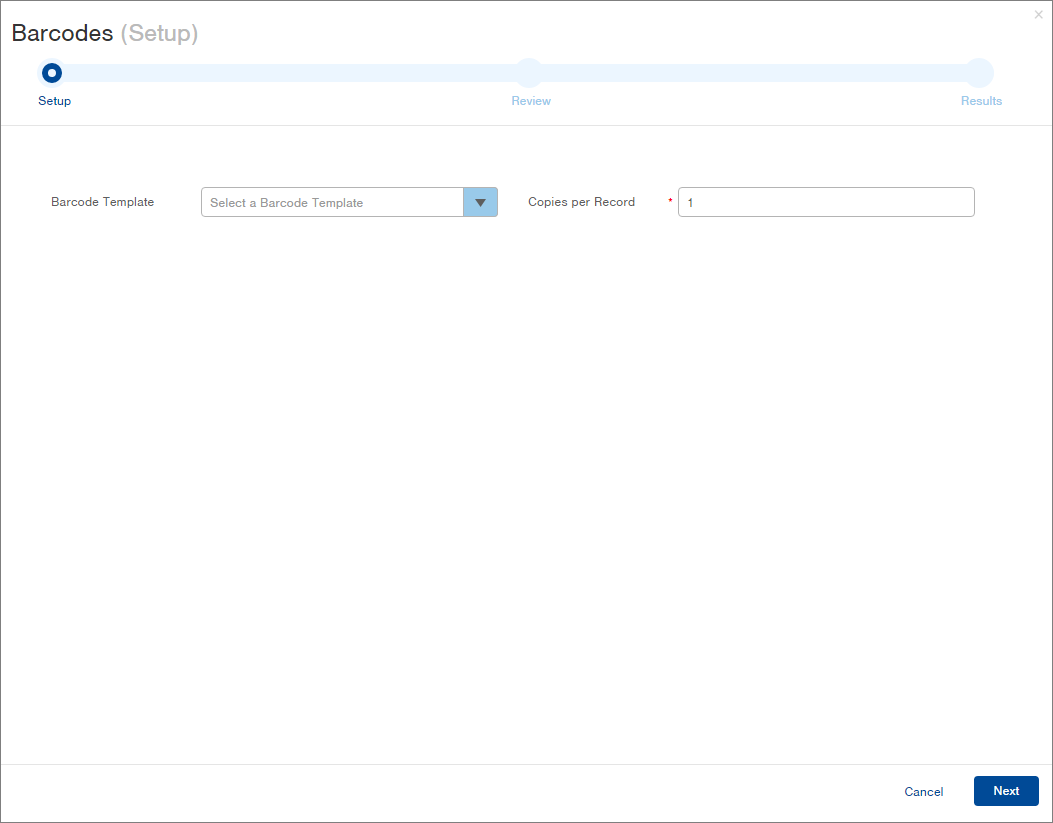
-
Select the Barcode Template you want to use (e.g., Order Number Barcode).
-
If you want more than one copy of the barcode for each record, enter the appropriate number into the Copies per Record field (e.g., if you wanted a label to appear inside a carton, outside the carton, and one for your paperwork, type a 3).
-
Click Next. The Review step appears.
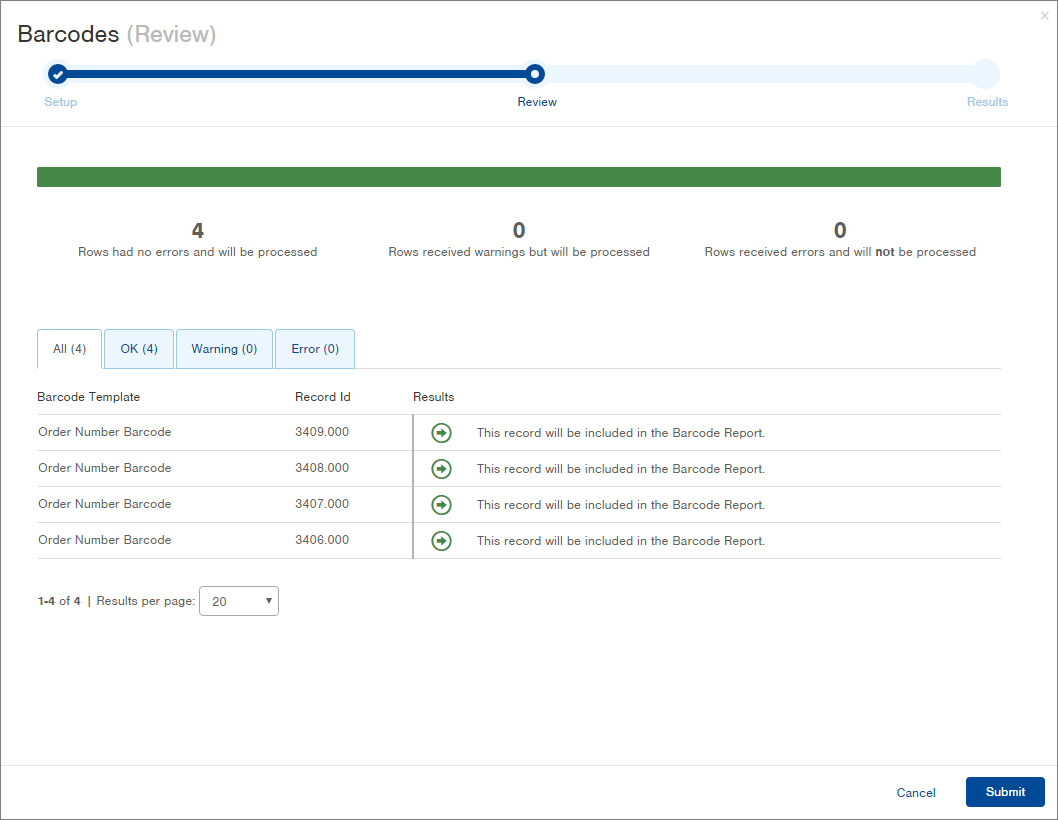
-
Review the Results for each record selected.
-
Click Submit. The final Results screen appears.

-
To view the report, click Download Report. Another tab will open in the browser displaying the report. Here's an example:
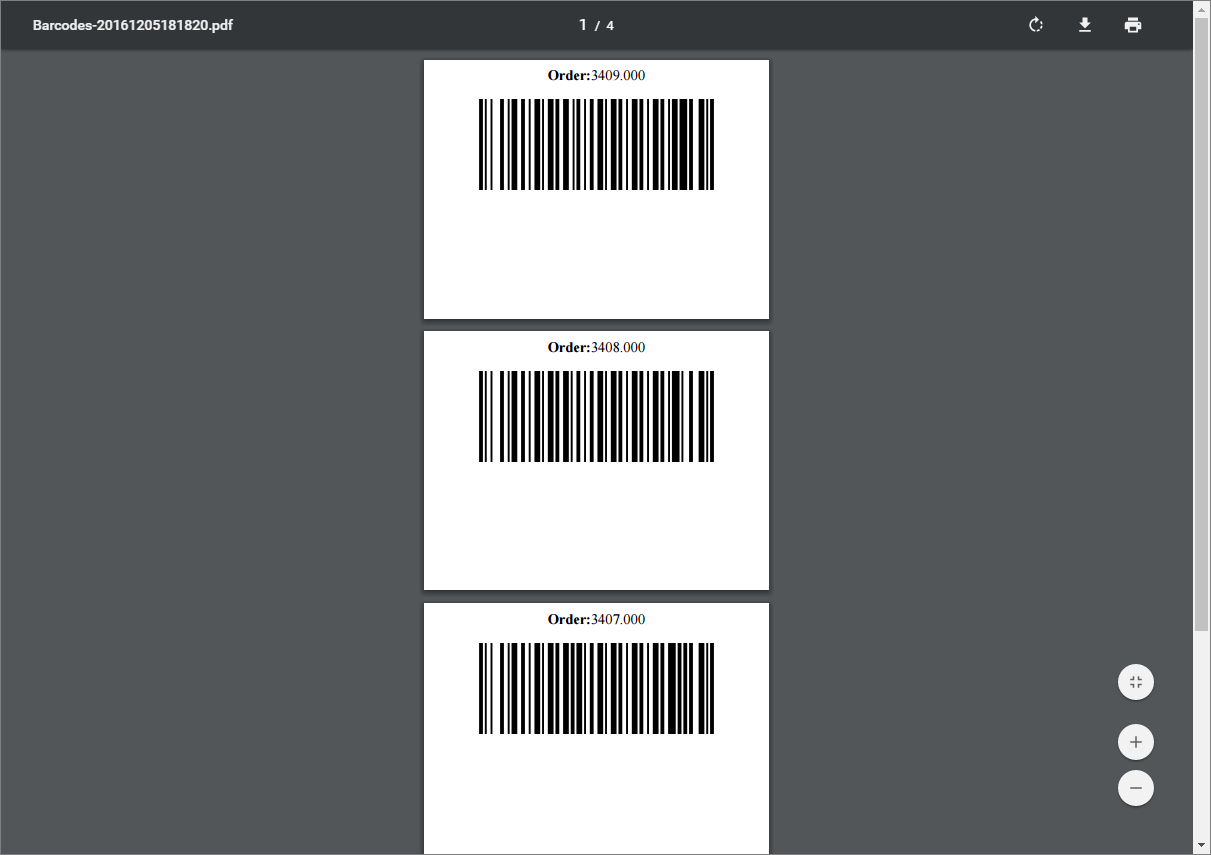
-
Click back on the Infoplus browser tab and click OK to close the report process.
More Information
Specifications
Other tags and attributes may be replaced, removed, or ignored. Also note that although the user interface may support other tags, the rendering engine that creates the PDF document may not. For example,
<img src="http://example.com/example.svg" />
will work in the user interface, but not in the PDF rendering engine.
The HTML content of the code will be wrapped with the following before rendering:
<html><head><style>@page { size: [Page width] width in [Page height] in; margin: 0in; }</style></head><body> [Smart Document HTML] </body></html>
Border Scaling
If you are using a table it is easiest to set your border properties in percentages. Using the code below, the table border will automatically scale to the width of your barcode settings. You can pad it at 98 or 99%% to leave print margins.
<table border="0" width="100%" cellspacing="0" cellpadding="3">
Custom Font Sizes
Headings and font sizes can be manipulated with the following examples:
<td style="font-size: .7em; text-align: center;" colspan="2">
<h2 style="font-size: 1.1em; text-align: center;">$record.sku</h2>
Formatting Date Fields
Date fields can be formatting using the following:
$record.dateField.replaceAll("^(....)-(..)-(..).*", "$2/$3/$1")
or
$string.format('%1$tm-%1$td-%1$ty', $record.dateField)