Track how long certain jobs in the Infoplus Mobile Floor Apps take. Learn how to set up, edit, and delete job times.
From a mobile unit or desktop computer, record the time doing a specific task using the Job Time Mobile Floor App. For example, easily track time spent unloading a container or putting away items.
To view a video tutorial of this App, see Video: Job Time Mobile Floor App .
NOTE: You can also Create New Job Time records Using the Desktop App.
Access the Job Time Mobile Floor App
- Access the Job Time Mobile Floor App. Two ways:
On a desktop computer: From the Dashboard, click the Mobile Floor Apps tab. Then click Job Time.
On a mobile unit: Tap Job Time. - If prompted, select the appropriate Warehouse. The "Job Time" screen displays.
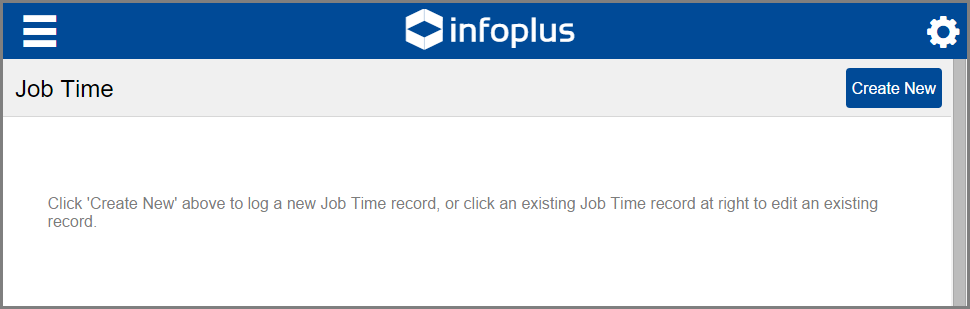
Create a New Job Time Record
- From the "Job Time" screen, select Create New. The "Creating Job Time" screen displays.
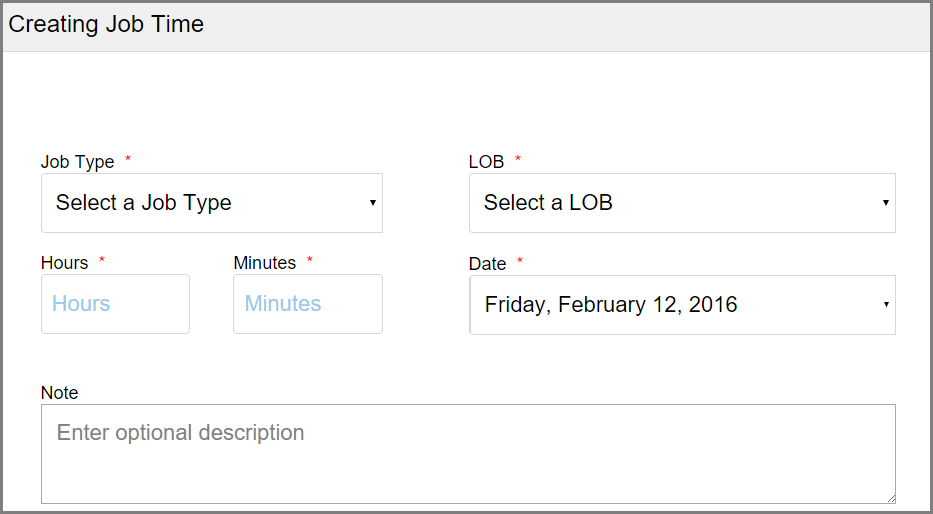
- Click the Job Type drop-down menu and select the type of task you are tracking.
NOTE: Job types are pre-defined for your organization. See Credit / Edit Job Types to define the job types.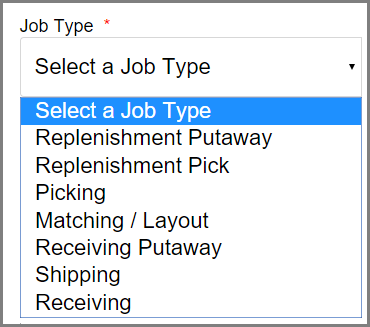
-
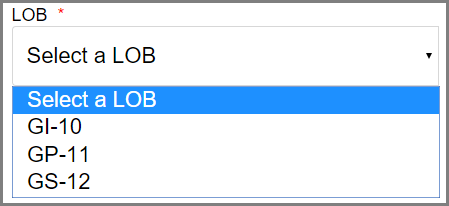
Select a Line of Business.
-
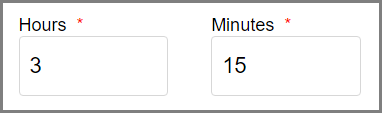
Enter the Hours and Minutes spent on the job.
-
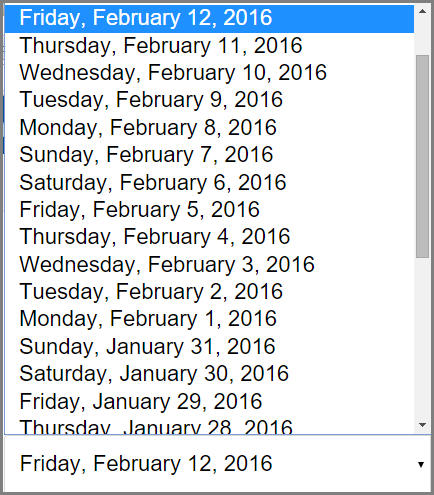
Select the Date. The date defaults to the current date. Select the date when the work was actually done.
-
Enter a description of the work performed in the optional Note field.
-
Click Save. Confirmation that the job time was saved appears at the top of the screen.
Edit a Job Time Record
- From the "Job Time" screen, click the gear icon
 in the top right. The current date's job records display.
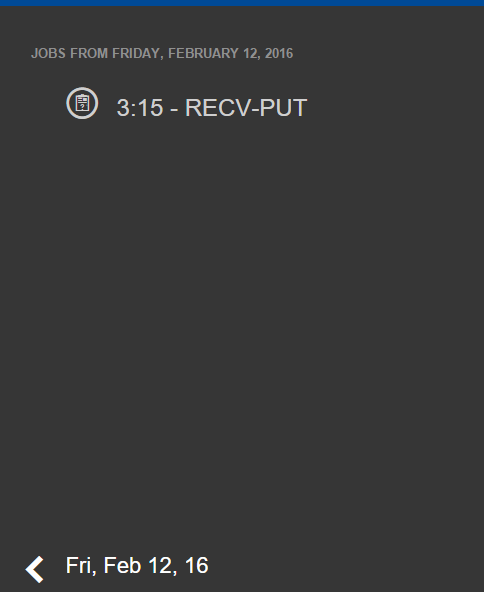
-
Click the arrow at the bottom of the screen to scroll to previous date's entries.
-
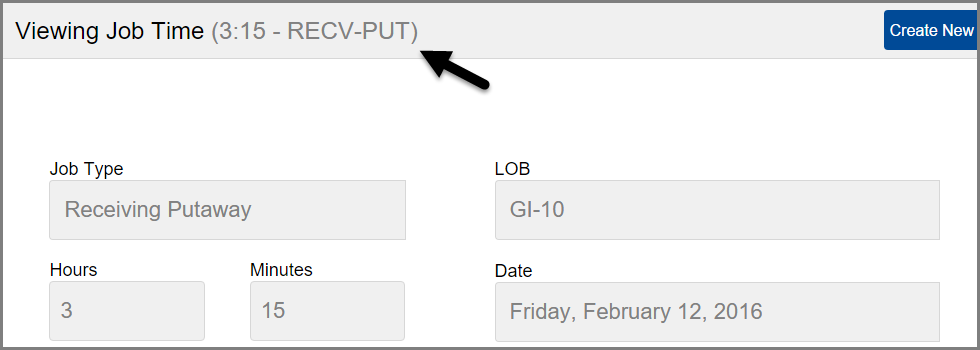
Click the entry you want to edit.
-
Click Edit.
-
Edit the fields.
-
Click Save. Confirmation that the edit was saved appears at the top of the screen.
Delete a Job Time Record
- From the "Job Time" screen, click the gear icon
 in the top right. The current date's job records display.
 -
Click the arrow at the bottom of the screen to scroll to previous date's entries.
-
Click the entry you want to delete.
-
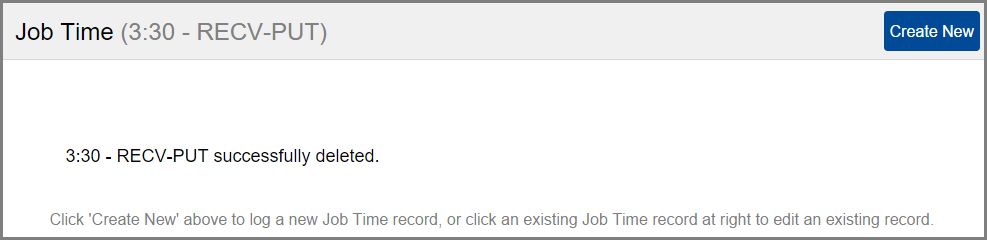
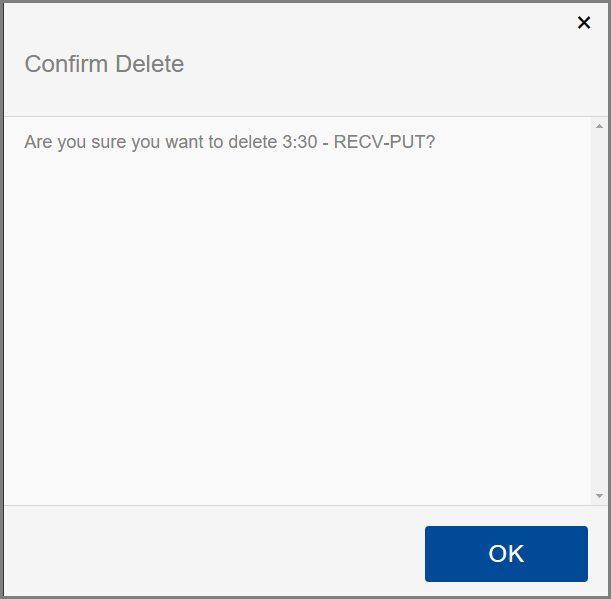
Click Delete. A message displays to verify you want to delete the record.
-
Click OK. Confirmation of the deletion displays.