Step-by-step instructions for creating parcel labels and parcel label set up so you can easily automate shipping in Infoplus.
To ship a package, the package needs to have a Parcel Label. You can create Parcel Labels for multiple orders that have been processed and cartonized.
Note: You can create Parcel Labels via the steps below, but also during the Fulfillment Process.
Once created for an Order, the Parcel Label will be listed in the Warehouse Documents section of the Order record.
Create Parcel Labels
- Access the "Order" table. Two methods:
From the Dashboard: Click the “Account Management” tab, click the “Order” App, then click the “Order” Table.
From the Quick Actions shortcut: Press a dot (period) on your keyboard, then select “Order” from the list of Quick Actions. - Select the Orders you want to create Parcel Labels for by clicking the checkboxes next to each record.
NOTE: You can select all records that are displayed by clicking the checkbox in the upper left corner. If the list of records exceeds the page limit (i.e., 20 records), a message will appear at the top indicating that you have only selected the records on this page and a link allows you to select all records. - Click the Actions button and select Create Parcel Labels. The Create Parcel Labels process appears with the Setup step selected.
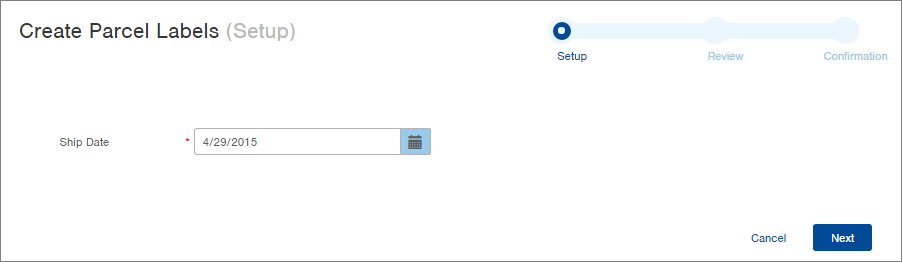
- Confirm or modify the Ship Date and then click Next. The Review step in the process displays.
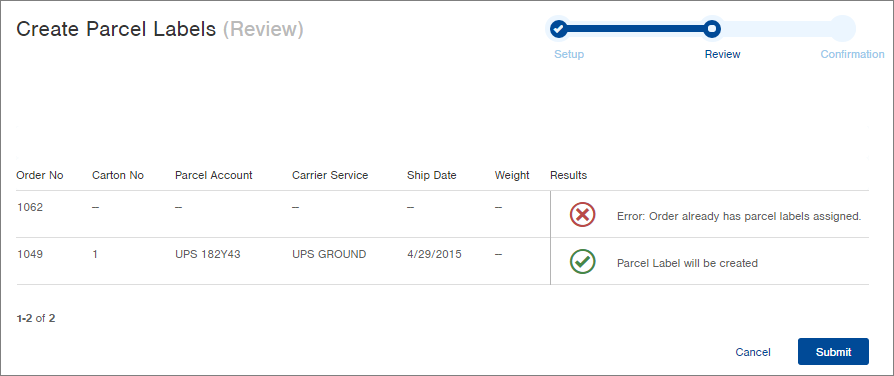
- Review the Results column for each Order.
- Click the Submit button. Each order that did not have an error will have a Parcel Label created. The Confirmation window for the process displays.
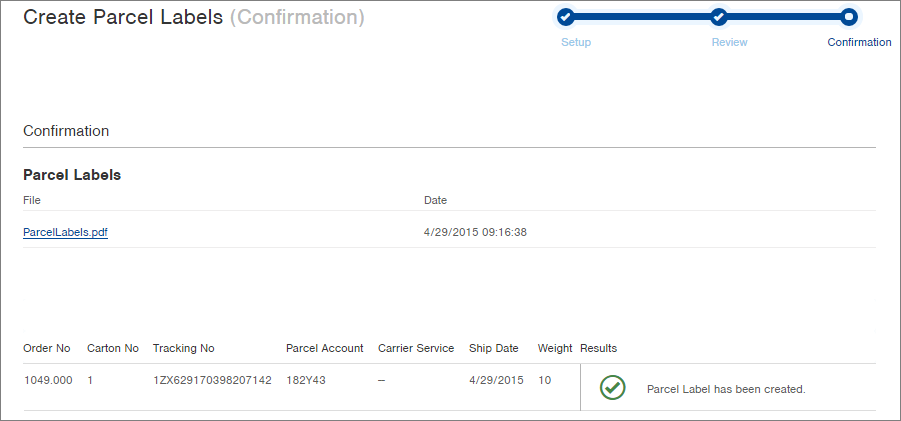
-
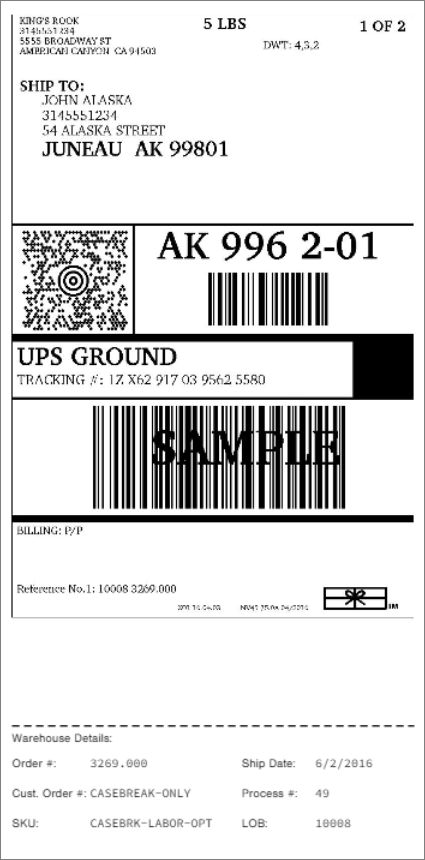
If you want to open/print the Parcel Label, click the PDF file that displays. This PDF file is also available in the Warehouse Documents section of the order.
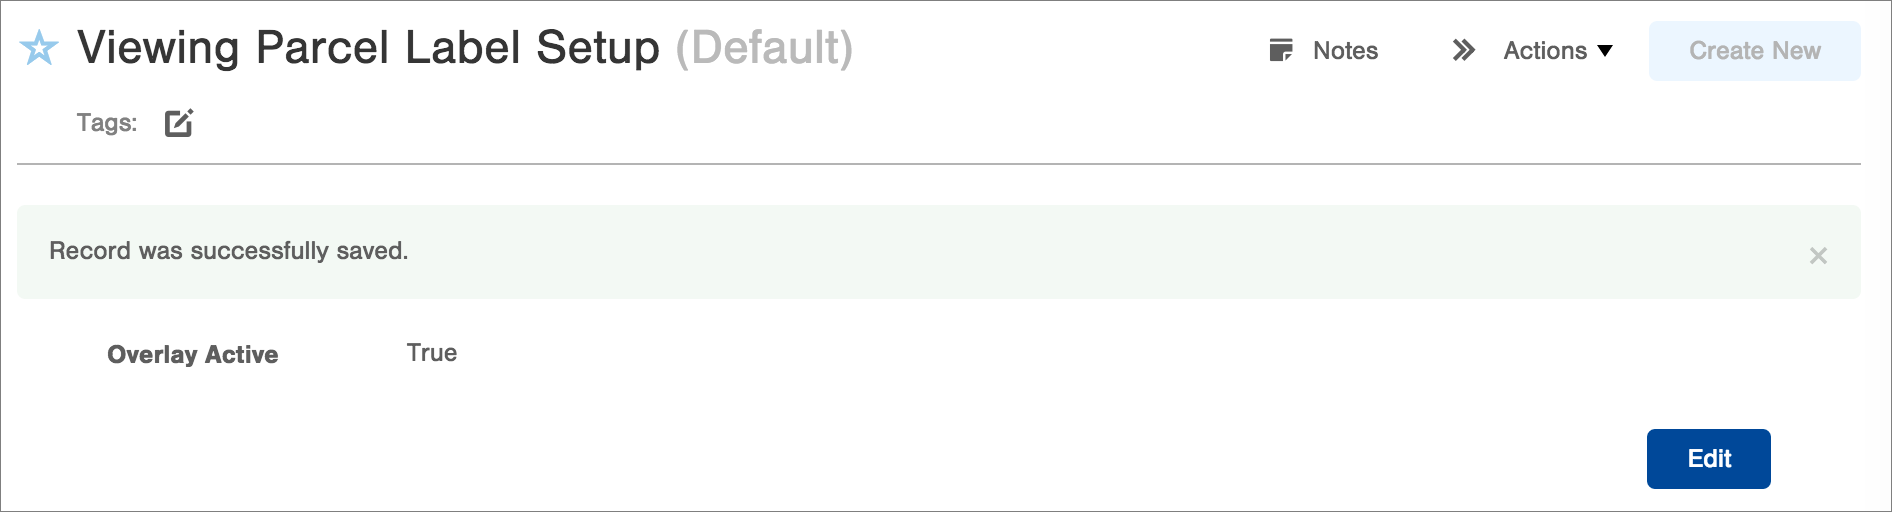
Parcel Label Setup
Printing the Warehouse Details section at the bottom of the label, called the Overlay, is optional. You may make that section active (visible) for printing on 4x8 stock, and inactive (not visible) for printing on 4x6 stock.
- Access the “Parcel Label Setup” table. Two methods:
From the Dashboard: Click the “Warehouse Operations” tab, click the “Fulfillment Setup” App, then click the “Parcel Label Setup” Table.
From the Quick Actions shortcut: Press a dot (period) on your keyboard, then select “Parcel Label Setup” from the list of Quick Actions.
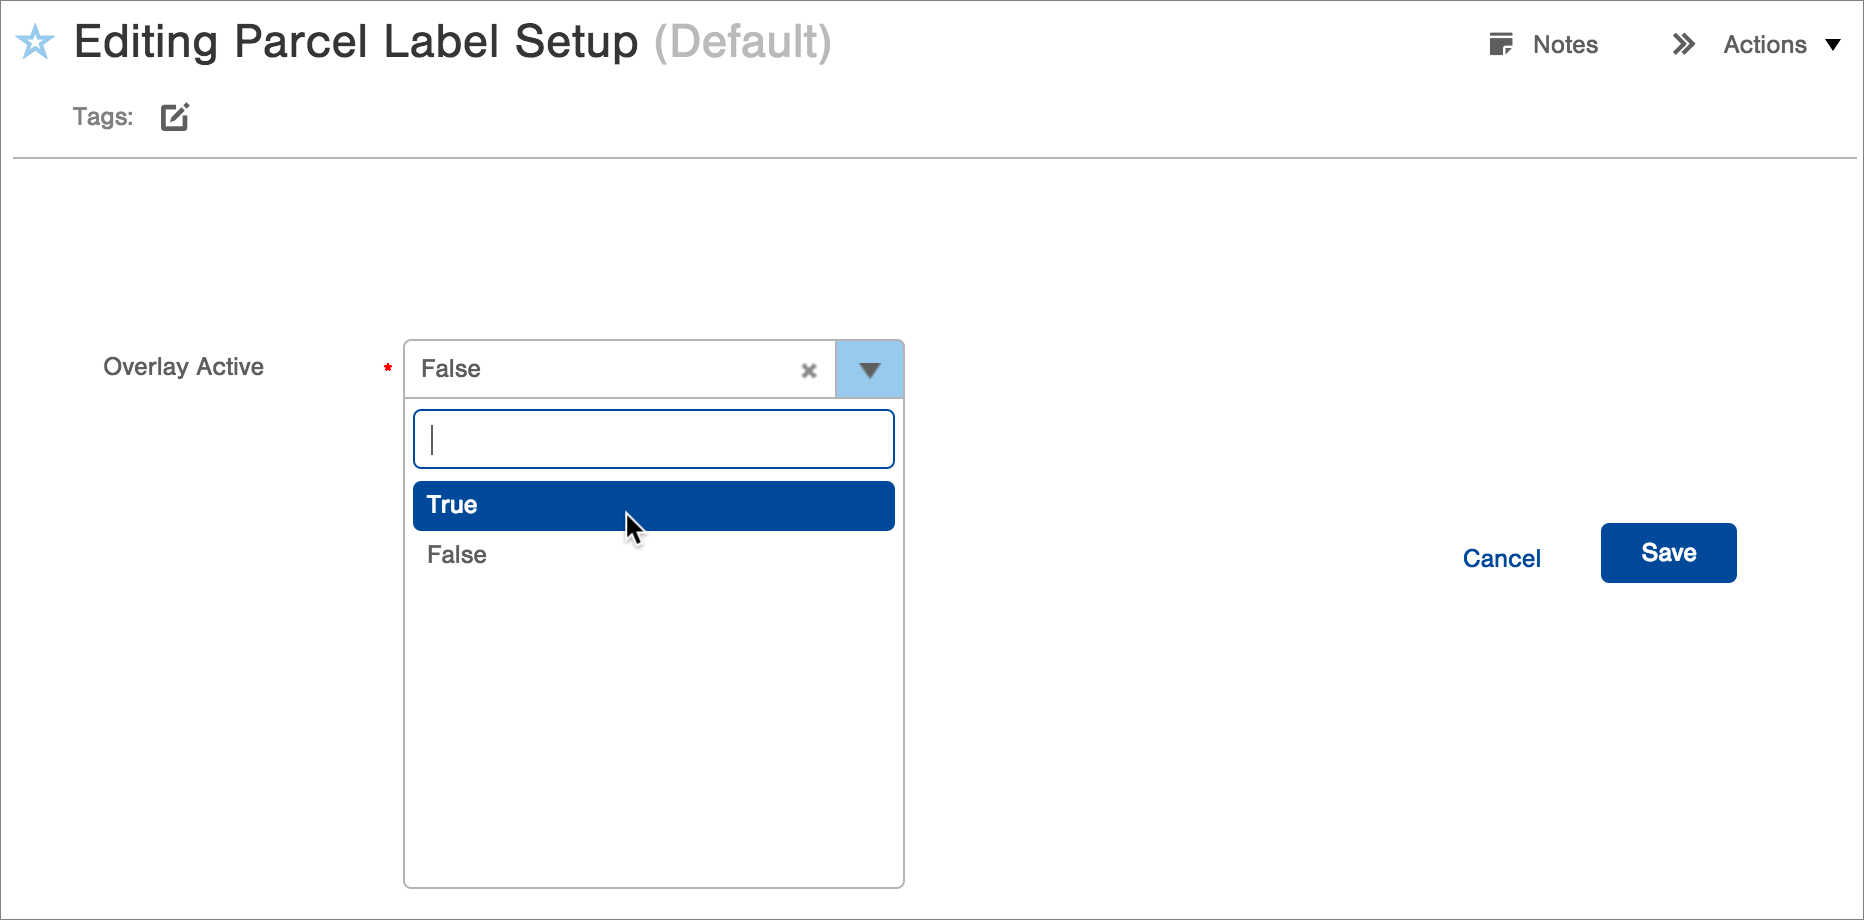
- Click Edit.
- Change the setting by clicking on the Overlay Active pop-up menu. Setting Overlay Active to “True” will cause the details to be printed (best for 4x8 stock). If Overlay Active is “False”, the details will not be printed (best for 4x6 stock).
- Click Save. A confirmation message will appear. Future labels will be printed with the new setting.